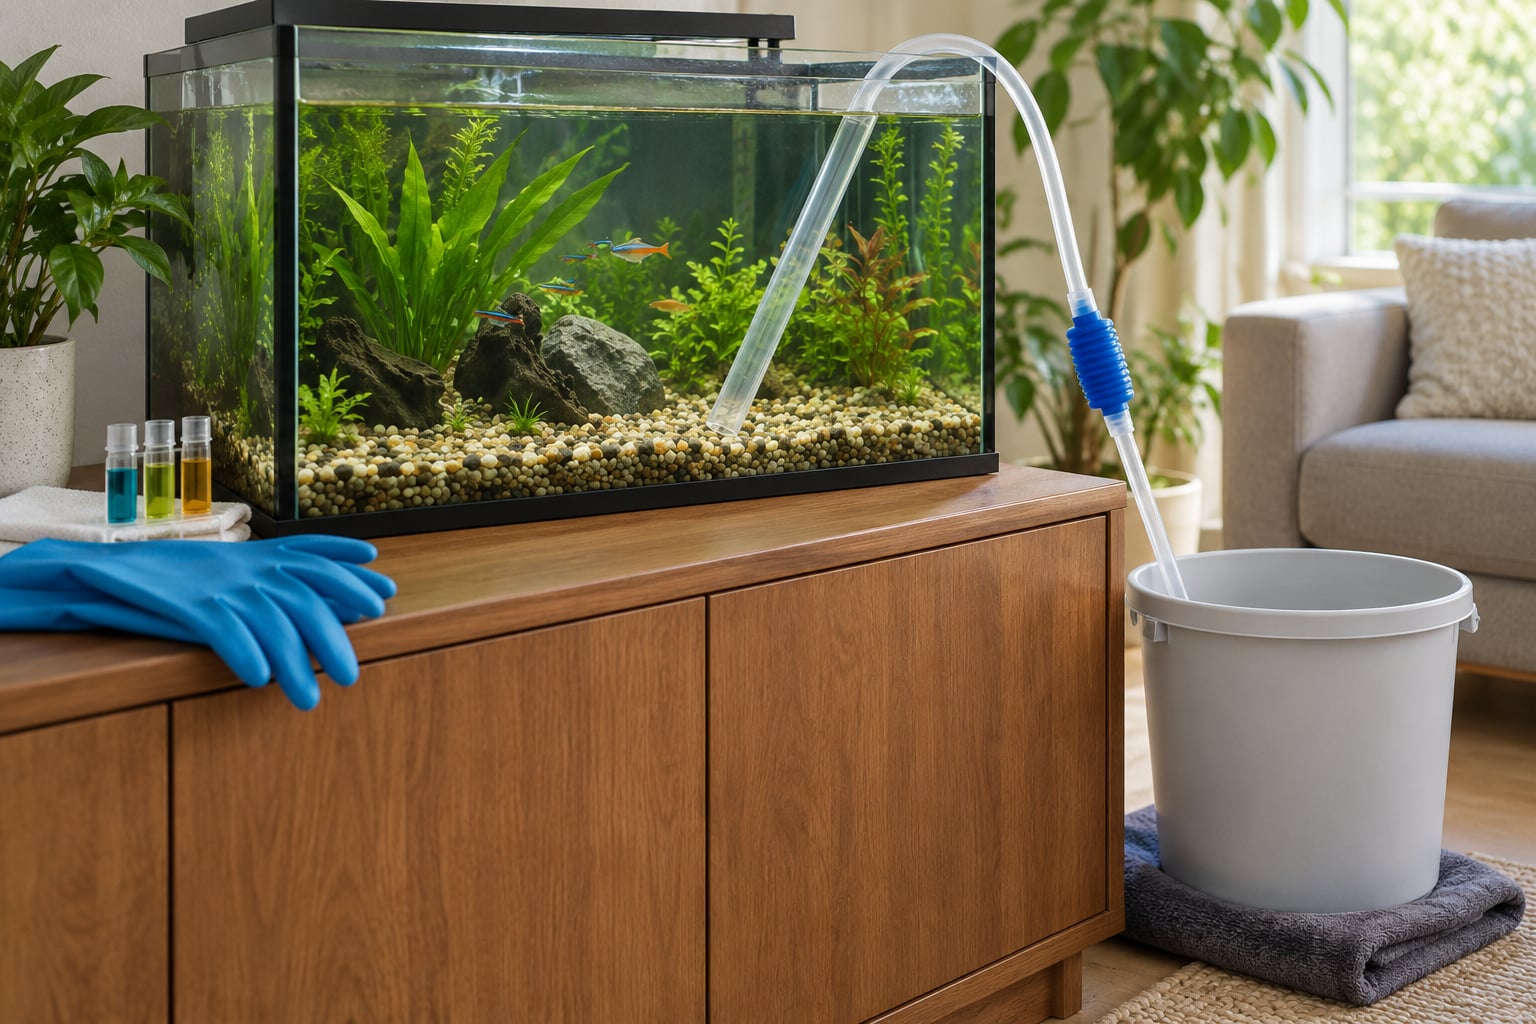
The mess almost always comes from two mistakes: pushing the siphon down into the substrate, and having no way to slow the flow once it starts. Leave the gravel vacuum hovering about 1 to 2 cm above the bed, pinch the hose with your thumb when the water runs fast, and you can clean aquarium gravel without pulling up plants, scattering your layout or losing a single fish. A typical home tank takes 20 to 30 minutes, and you do it alongside a partial water change rather than as a separate job.
Good news on the biology side. The gravel stays in the tank, and it should. A freshwater aquarium’s substrate is home to a large share of its nitrifying bacteria, the colonies that turn toxic ammonia into nitrate, so pulling the gravel out to scrub it in a bucket resets the nitrogen cycle and puts fish at real risk. You are lifting waste off the surface of the bed, not cleaning the bed itself.
Below is the order I actually work in, the numbers that keep a session controlled, and the handful of goofs that turn a 20-minute job into a spilled-water evening.
Table of Contents
- What You Need to Clean Aquarium Gravel Without a Mess
- Step-by-Step: How to Clean Aquarium Gravel Without a Mess
- Step 1: Prepare the tank and Work Area
- Step 2: Rinse Gravel Without Stirring Up Debris
- Step 3: Vacuum the Gravel Bed
- Step 4: Replace Water and Restart Equipment
- Common Mistakes and Their Fixes
- Tips for Mess-Free Gravel Cleaning
- Frequently Asked Questions
- Can I clean aquarium gravel with the fish still in the tank?
- Do I need to remove all the gravel to clean the aquarium?
- How often should I vacuum aquarium gravel?
- Why does the water get cloudy when I clean the gravel?
- Should I rinse aquarium gravel before putting it back?
- What kind of water should I use to refill the aquarium?
What You Need to Clean Aquarium Gravel Without a Mess
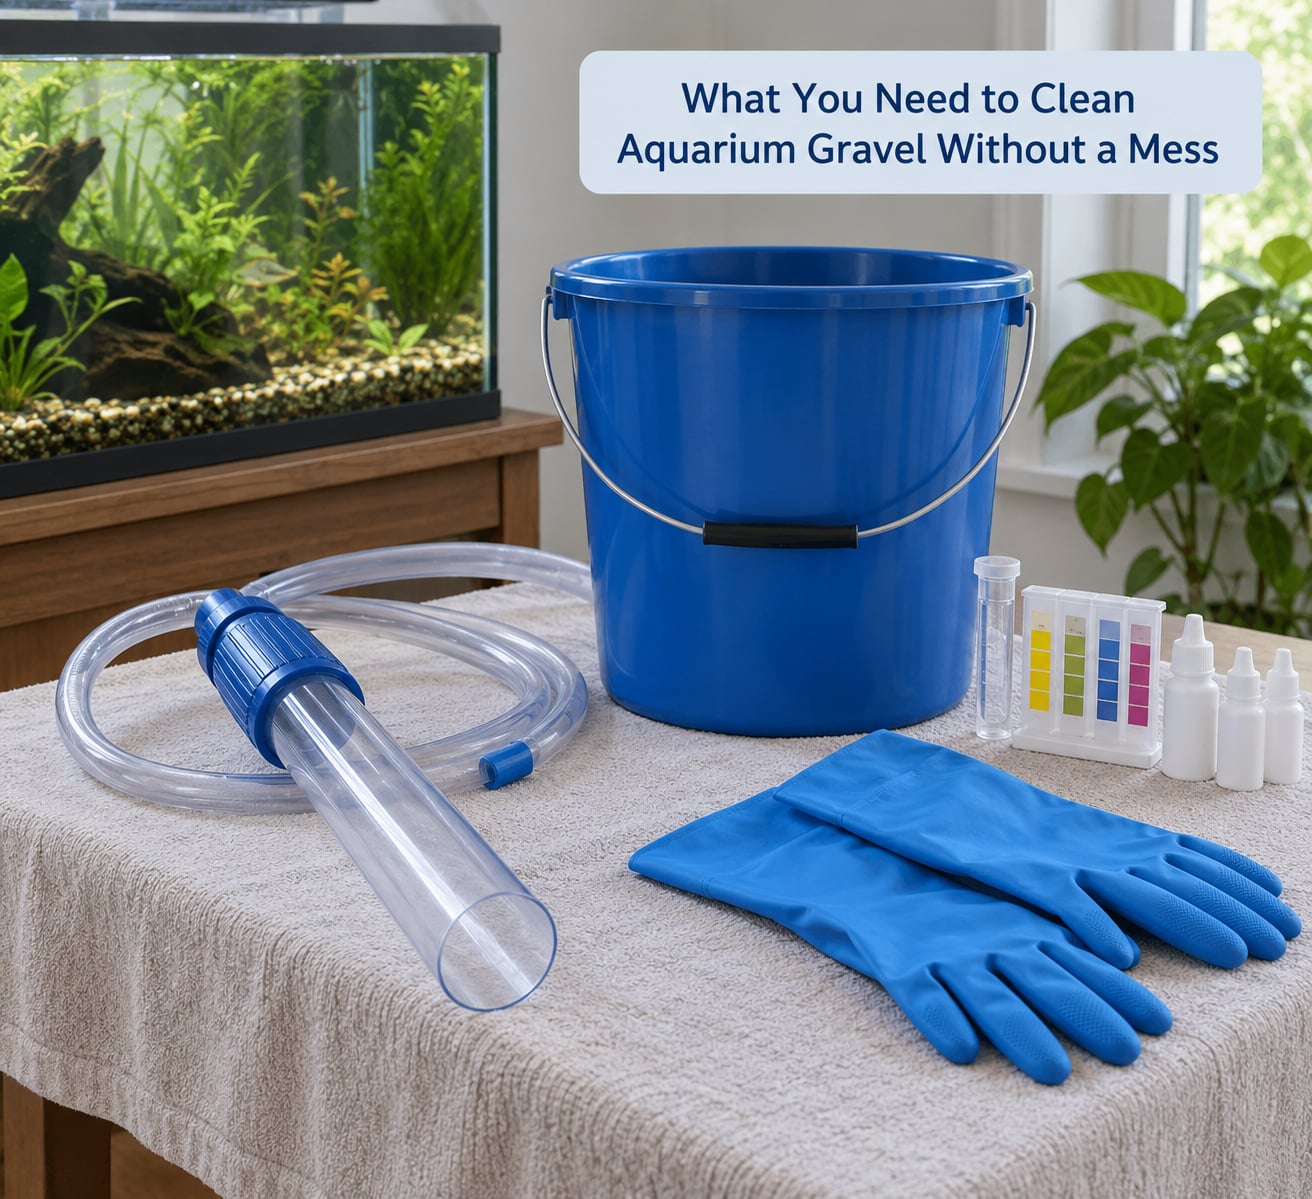
Gather everything before you touch the water. Reaching for a tool mid-siphon is how water ends up on the floor, and a towel down first is the difference between a wipe and a re-fill.
- A gravel vacuum sized to your tank. Pick one rated for a tank larger than yours. Flow only goes one way, so a vac that is too big cannot be slowed except by kinking the hose constantly, while a small one on a big tank wastes your evening.
- A bucket reserved for fish use only. Two smaller buckets beat one large one, since you never have to lift a full 20 litres. For a 75-litre tank taking out 25 percent, that is around 19 litres, so two buckets of 10 litres stay manageable.
- A towel or plastic sheet for the cabinet top and the floor beneath it.
- Water conditioner to neutralise the chlorine and chloramine in tap water before it goes back in.
- An ammonia and nitrate test kit. You want a baseline before you start and a reading 24 hours after.
- Rubber gloves, plus long tweezers or bamboo tongs and a turkey baster for spot work between rocks.
- A second towel for moving hardscape, and a bucket of tank water to keep wet filter media wet if you take the filter apart.
What must never touch the substrate: dish soap, bleach, vinegar, household cleaners, and untreated tap water. Soap and bleach kill the bacteria living in the gravel and leave a residue that will not rinse out. If a bucket has ever held chemicals, paint, or cleaning solution, keep it far away from the tank and use a different one.
Step-by-Step: How to Clean Aquarium Gravel Without a Mess
Step 1: Prepare the tank and Work Area
Unplug the heater and the filter at the mains rather than yanking the cable. Lay the towel over the cabinet top and the floor, and set your bucket(s) on the towel within easy reach of the hose end.
Leave the fish in the tank. In a normal sized tank, a partial water change with the filter off briefly is far less stressful than netting everyone into a bucket, and it is what most experienced keepers do. If your tank is very small and heavily stocked, move the fish to a bucket of tank water instead, and keep that bucket covered and out of the light.
If you take the filter apart, do it in a shallow dish of tank water and keep the media submerged the whole time. Beneficial bacteria live on that media, and letting it dry or rinsing it under the tap kills more of your cycle than any amount of dirt ever could. Moving one rock or a piece of driftwood to open up a dead zone is worthwhile; taking every decoration out is just more mess.
You know the tank is ready when the water surface is calm, the hose reaches the bottom without a sharp kink, and your bucket is under the outlet.
Step 2: Rinse Gravel Without Stirring Up Debris
Place a bucket under the siphon outlet and let a little tank water run into it first, then fill that bucket to a third with water from the tank. Hold the vacuum intake just under the surface and agitate it, letting only the heavier debris and stringy bits go into the bucket.
The aim is lifting the coarse waste off the top of the bed, not stripping it. Mulm, the fine brown organic sludge that washes off the surface, feeds nitrifying bacteria and, in a planted tank, acts as slow-release fertiliser for the roots. Rinse until the water running into the bucket clears, then move on. If you are working in a planted tank, some of that material should stay behind by design.
Work slowly with the intake a centimetre or two above the gravel. The moment you shove the tube down into the bed you compact the substrate, and compacted substrate goes anaerobic: oxygen-starved pockets where hydrogen sulfide builds up. That is the mess no one plans for.
Step 3: Vacuum the Gravel Bed
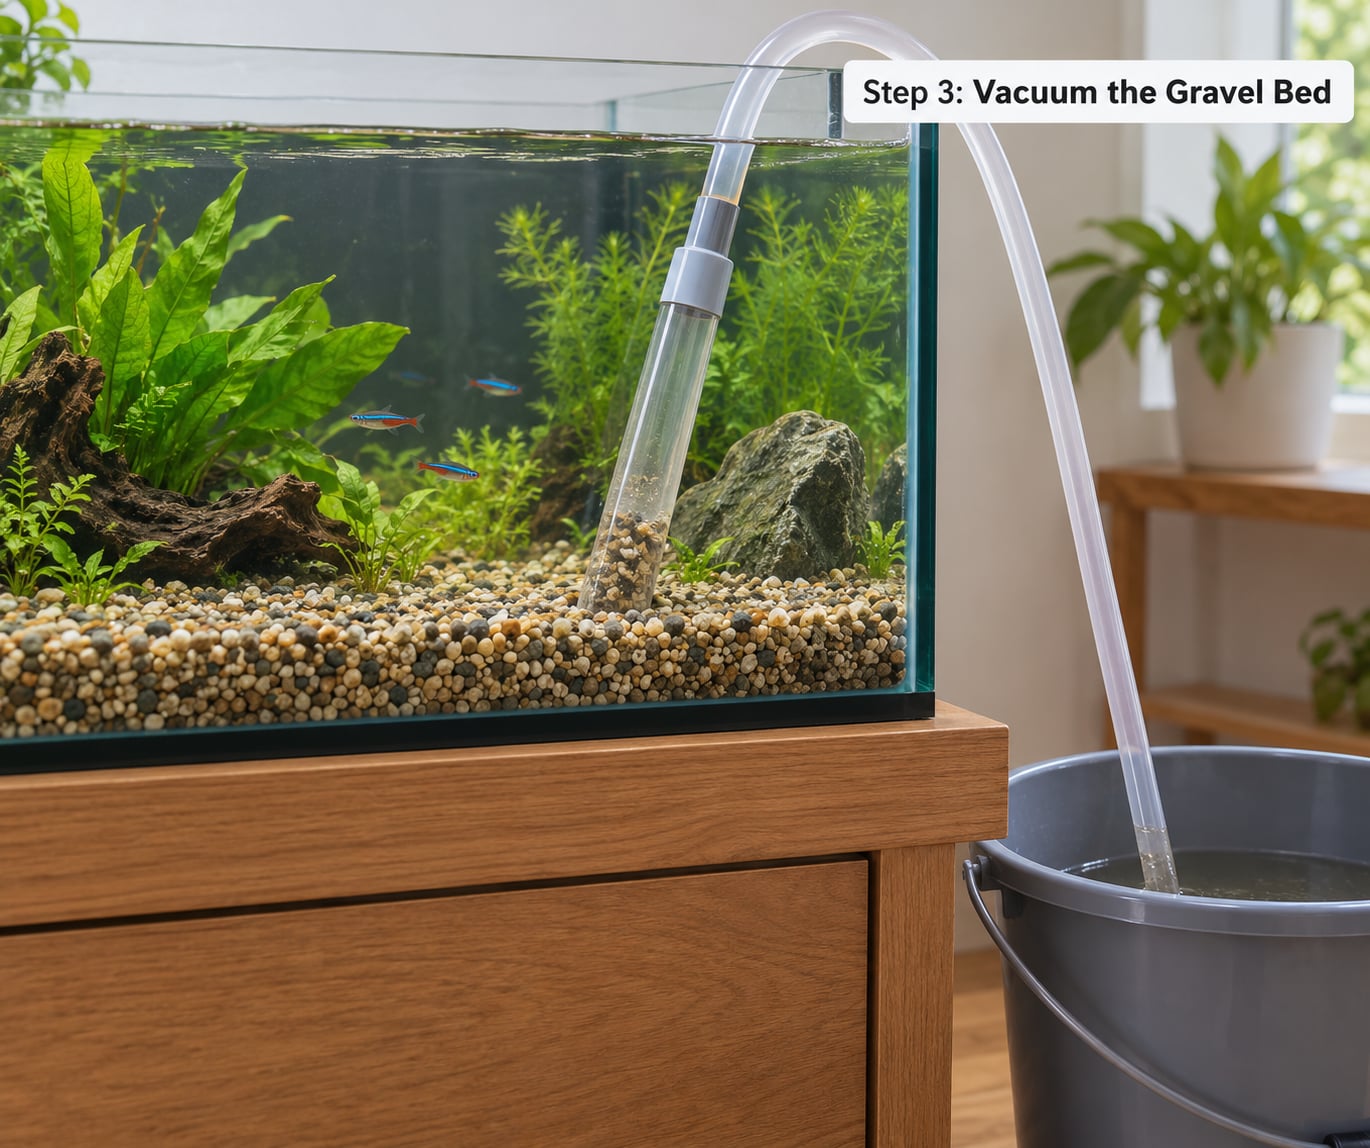
Hover the intake 1 to 2 cm above the gravel and move it in slow circles, agitating the water column so the lifted waste drifts into the flow. Then dip the intake in slightly, just deep enough to disturb the top centimetre, and lift it straight back out. Do not drive the tube to the bottom of the tank.
When the flow gets too strong, pinch or kink the hose with your thumb. That slows the siphon enough that heavier pebbles fall back down the tube while the light waste stays suspended and travels out. This thumb-and-kink control is the single habit that separates a tidy clean from a gravel-strewn floor.
Stop at 10 to 25 percent of the tank volume. On a 150-litre tank that is 15 to 38 litres, so you are looking at two to four bucket trips, not a full drain. Many keepers clean half the tank one week and the other half the next, which keeps the water change modest and the ammonia stable.
Move around the hardscape. Dead zones under a big rock or a piece of driftwood collect waste and never get touched, and lifting a heavy item gently to vacuum underneath it is worth the extra work. Watch the plants as you pass: if a leaf is loose, hold it down with a fingertip while you vacuum beside it, and never push the intake into a root mass.
Step 4: Replace Water and Restart Equipment
Pour the siphoned tank water back into the bucket, strain out the obvious debris if you want to, then return it to the tank. It carries no chlorine and holds your temperature, so it is the easiest water to put back.
Top up with fresh water treated with conditioner, matched to the tank within about 1 to 2 degrees. Match it by feel with your forearm or by using the same source water you always use, and add conditioner for the full volume you are adding, not a rough guess.
Refill to the tank’s normal line, plug the filter and heater back in, and check under the cabinet for a drip. If the water looks cloudy, that is usually fine: suspended fine particles that settle within a few hours. If it has not cleared overnight, something stirred deeper than it should have and the troubleshooting notes below cover what to do.
Test ammonia and nitrate the next day. If ammonia has climbed from zero into a detectable reading and fish are gasping at the surface, that is an emergency, not a cleaning problem, and it needs an immediate small water change and a check of your filter.
Common Mistakes and Their Fixes
Almost every messy gravel clean comes down to one of a handful of errors. These are the ones that cost keepers their substrate, their plants or their water.
| What you see | Why it happened | How to fix it |
|---|---|---|
| Gravel scattered across the floor and a destroyed layout | The vacuum was pushed into the substrate and siphoned the bed out | Hover 1 to 2 cm above the gravel and kink the hose to throttle flow; recover loose pebbles from the bucket before they go down the drain |
| Plants uprooted and floating at the surface | The intake was pushed among the roots | Vacuum only open areas, hold fronds down with a fingertip, and pinch the hose to keep suction low near plants |
| Water draining far too fast | A vacuum rated for a much larger tank, and a bucket on the floor far below the tank | Use smaller buckets and set them on a stool beside the tank so the height difference is short |
| Cloudy water for hours | Fine sand or dust was stirred into the water column | Let it settle, keep filtration running, and avoid vacuuming over sand again until the water clears |
| Ammonia spike a day later | Too much mulm removed at once, or filter media rinsed under the tap | Change 25 percent with conditioned water, keep filter media wet in tank water, and test ammonia daily until it returns to zero |
| Sand disappearing into the bucket | The intake was buried in fine substrate | Use the swirl method: hold the tube just above the sand and circle it so a small vortex lifts only the lighter particles |
Four rules are worth printing out. Never wash the gravel under tap water once it is in a stocked tank, because the chlorine kills the bacteria in the substrate and there is no conditioner that undoes it. Never use soap or bleach on anything that goes in the water. Never remove all the gravel at once, since a bare tank floor is both ugly and biologically dead. And never force the siphon down into compacted gravel, which is what compacts it further.
Tips for Mess-Free Gravel Cleaning
The cleanest gravel clean is the one you barely need. Most of the work is prevention.
- Feed less and remove what is left. Uneaten food is the biggest source of waste on the substrate, and sinking pellets break apart into a fine film within a day or two. Using a feeding ring keeps food in one spot where you can spot-clean it.
- Do not overstock. More fish means more waste and more frequent vacuuming. Strive for a lightly stocked tank and a roomy setup, and the gravel stays cleaner between changes.
- Trim decaying plant leaves and pull out any duckweed or floating growth that is dying back in the water column.
- Rinse filter media in old tank water, never under the tap, and never all at once. Clean one section of the filter at a time over a few weeks.
- Keep a consistent partial water change routine. Weekly is a good default for a normal home tank; less often suits a lightly stocked one, and a long-neglected tank needs smaller changes more often rather than one big one.
- Match detritivores to expectations. Corydoras and nerite snails keep the glass and hardscape tidy, but they do not vacuum gravel and they will not save an overfed tank.
If you want to clean without any vacuum at all, a turkey baster plus long tweezers works well for spot cleaning between rocks: you can see exactly what you are lifting out, which is useful if you are checking waste for parasites. In a heavily planted tank, the community advice is to vacuum only the open patches and leave the settled detritus where the roots can use it.
Frequently Asked Questions
Can I clean aquarium gravel with the fish still in the tank?
Yes, and for most tanks it is the less stressful option. Netting fish into a bucket stresses them far more than a partial water change with the filter briefly off. Keep the fish in, move slowly, and finish within 20 to 30 minutes. Only transfer fish if your tank is very small and heavily stocked, and if you do, keep them in a covered bucket of tank water.
Do I need to remove all the gravel to clean the aquarium?
No, and you should not. A large share of your tank’s nitrifying bacteria live in the substrate, so taking the gravel out to scrub it destroys the colony that converts ammonia into nitrate. You only need to lift waste off the surface. If a pebble needs scrubbing, hold it up, rinse it in a bucket of tank water, and put it straight back.
How often should I vacuum aquarium gravel?
Once a week works well for a typical home aquarium and pairs neatly with a partial water change. Lightly stocked or unplanted tanks can go two weeks between sessions. Sand needs more frequent, gentler passes because it compacts faster, while a heavily planted tank usually needs vacuuming only in the open areas. Vacuum less often if the water stays clear and nitrate stays low.
Why does the water get cloudy when I clean the gravel?
Cloudy water after cleaning is usually suspended fine particles rather than a chemistry problem. Sand, dust and stirred mulm stay in the water column until they settle. Keep the filter running and give it a few hours, ideally overnight, to clear. Avoid vacuuming sand again while the water is still hazy, and test ammonia the next day to rule out a cycle problem.
Should I rinse aquarium gravel before putting it back?
New gravel that has never been used should be rinsed in a separate bucket with plain water, outside the tank, until the water runs clear. Gravel that is already in a stocked tank should not be rinsed at all, and never under tap water, because the chlorine kills the nitrifying bacteria living in the substrate. Keep filter media wet in tank water for the same reason.
What kind of water should I use to refill the aquarium?
Use water from your tap, but always treat it with a water conditioner before it enters the tank, and match the tank temperature within about 1 to 2 degrees. Chlorine and chloramine are toxic to fish even at low levels. When you siphon a lot out, return the tank water you removed first, since it is already conditioned and the right temperature.
Start small. On your next water change, hover the intake 1 to 2 cm above the gravel, work in half-tank sections, and take out no more than a quarter of the water. Keep the gravel in the tank, keep the filter media wet, and put the water back conditioned and temperature-matched. Fifteen calm minutes will keep the substrate, the plants and your floor exactly where they belong.