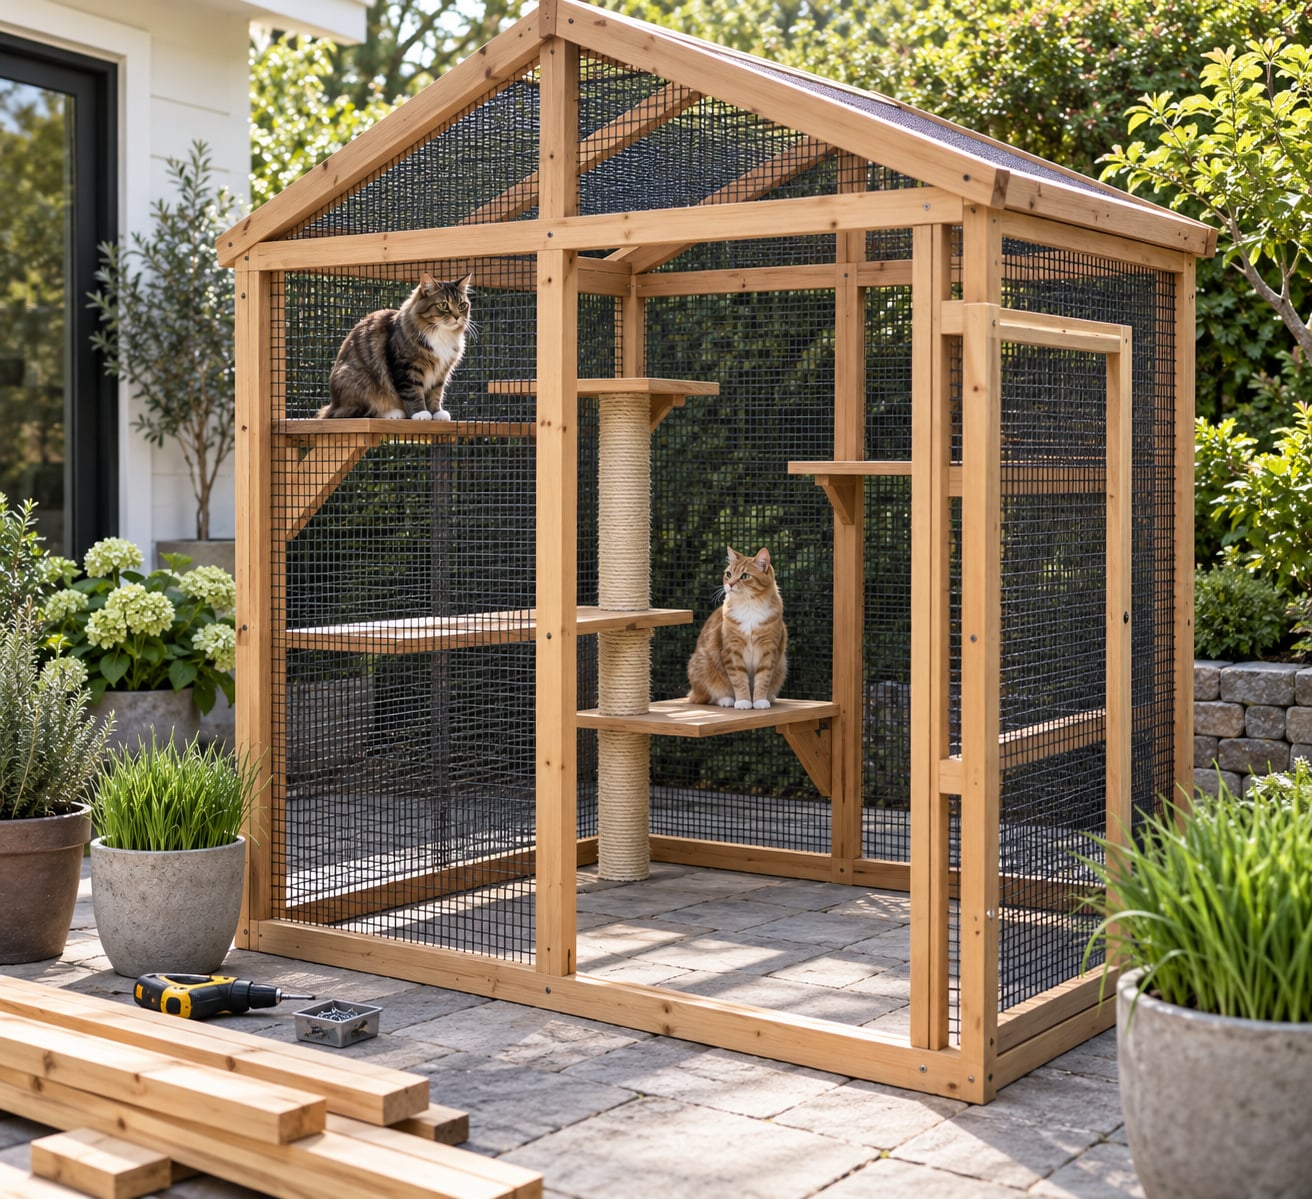
A catio is a fully enclosed outdoor space, usually framed in treated lumber and covered in wire mesh, where indoor cats can sit in fresh air and sunshine without the risks of free roaming. Building one is a weekend project for most people: a basic box frame takes a day, a full run with a roof and a cat door takes a weekend.
Building costs far less in materials than buying a ready-made unit, and far less in frustration than the cheap flat-pack versions that split and rust after one wet season. The hardest part is not the frame. It is closing every gap at the point where the catio meets your house.
If you only want the plan and the shopping list, jump straight to the steps below. If you want to know whether to build at all, read on first.
Table of Contents
- What You Need
- Tools
- Materials
- Pick the enclosure material by threat level
- Size and the rules to check first
- Step-by-Step: How to Build a Catio That Actually Holds
- Step 1: Choose a Location and Plan the Layout
- Step 2: Build the Frame and Secure the Enclosure
- Step 3: Add Weather Protection, Flooring, and Shelter
- Step 4: Add Cat-Friendly Enrichment and Safe Access
- Step 5: Check the Catio and Introduce Your Cat Slowly
- Common Mistakes
- Frequently Asked Questions
- Is it cheaper to buy or build a catio?
- Is it safe to keep my cat outside in a catio?
- What is the best mesh for a catio?
- What should I put at the bottom of a catio?
- Are cats happy in catios, and do vets recommend them?
- How big should a catio be?
- Conclusion
What You Need
The short version: treated lumber, welded wire or hardware cloth, exterior-grade fasteners, roofing material, a lockable door, and a plan for the floor. Everything else is optional. What is not optional is mesh that your particular cat cannot push through and fasteners that will not rust out in two seasons.
Tools
- A tape measure and a carpenter’s square
- A circular saw or handsaw, plus a drill driver
- A staple gun plus exterior-grade screws, lag bolts and washers
- A level, a hammer, and a pair of aviation snips or wire cutters
- A ladder, and a second pair of hands if you are working above ground level
Materials
- Lumber: 2x4s for the frame and 2x6s for door and header openings. Use pressure-treated or rot-resistant lumber for anything touching soil. Skip untreated pine; forum builds report split frames and mouldy boards after one season outdoors.
- Enclosure mesh: 16-gauge welded wire with a 2×2 inch or smaller opening, or 1/2 inch hardware cloth. Both resist a determined cat. Chicken wire and soft netting do not.
- Battens: 1×2 strips used to sandwich mesh into every frame edge. This is what keeps staples from pulling loose.
- Roofing: corrugated metal or polycarbonate panels, plus flashing tape along the wall junction.
- Floor and base: outdoor matting or artificial grass, pavers, plus L-shaped steel angle or hardware cloth laid flat for a ground apron.
- Hardware: a self-locking gate latch or carriage-door bolt for the door, galvanised or stainless screws, and masonry anchors if you are bolting into brick.
Pick the enclosure material by threat level
| Catio type | Typical size | Difficulty | Best for |
|---|---|---|---|
| Window box | 2 x 3 x 3 ft | Easy, one afternoon | Apartment cats that only need a sunny perch |
| Balcony catio | 4 x 6 ft | Easy to moderate | Condo cats with a usable balcony |
| Attached run | 8 x 5 x 7 ft | Moderate, a weekend | House cats that need headroom and shelves |
| Freestanding run | 10 x 20 ft or more | Moderate to hard | Rural homes, multiple cats, integrated landscaping |
A window box or balcony build works with fine mesh and light framing because the only threat is a determined house cat. Move the same design to a rural yard with coyotes, foxes or stray dogs and you need welded wire, a bolted-down frame and a buried apron.
Size and the rules to check first
For one cat, aim for at least 4 x 6 feet of floor and 6 feet of height, with shelves added vertically so the usable space is bigger than the footprint. Add roughly 25 square feet per extra cat and plan two exits, so nobody gets cornered.
Before you cut a single board, check your lease, your building management rules or your HOA. Balconies often ban drilling into railings, and many buildings treat any attached structure as a liability issue. Your municipality may also have rules about structures within a setback line.
Step-by-Step: How to Build a Catio That Actually Holds
Step 1: Choose a Location and Plan the Layout
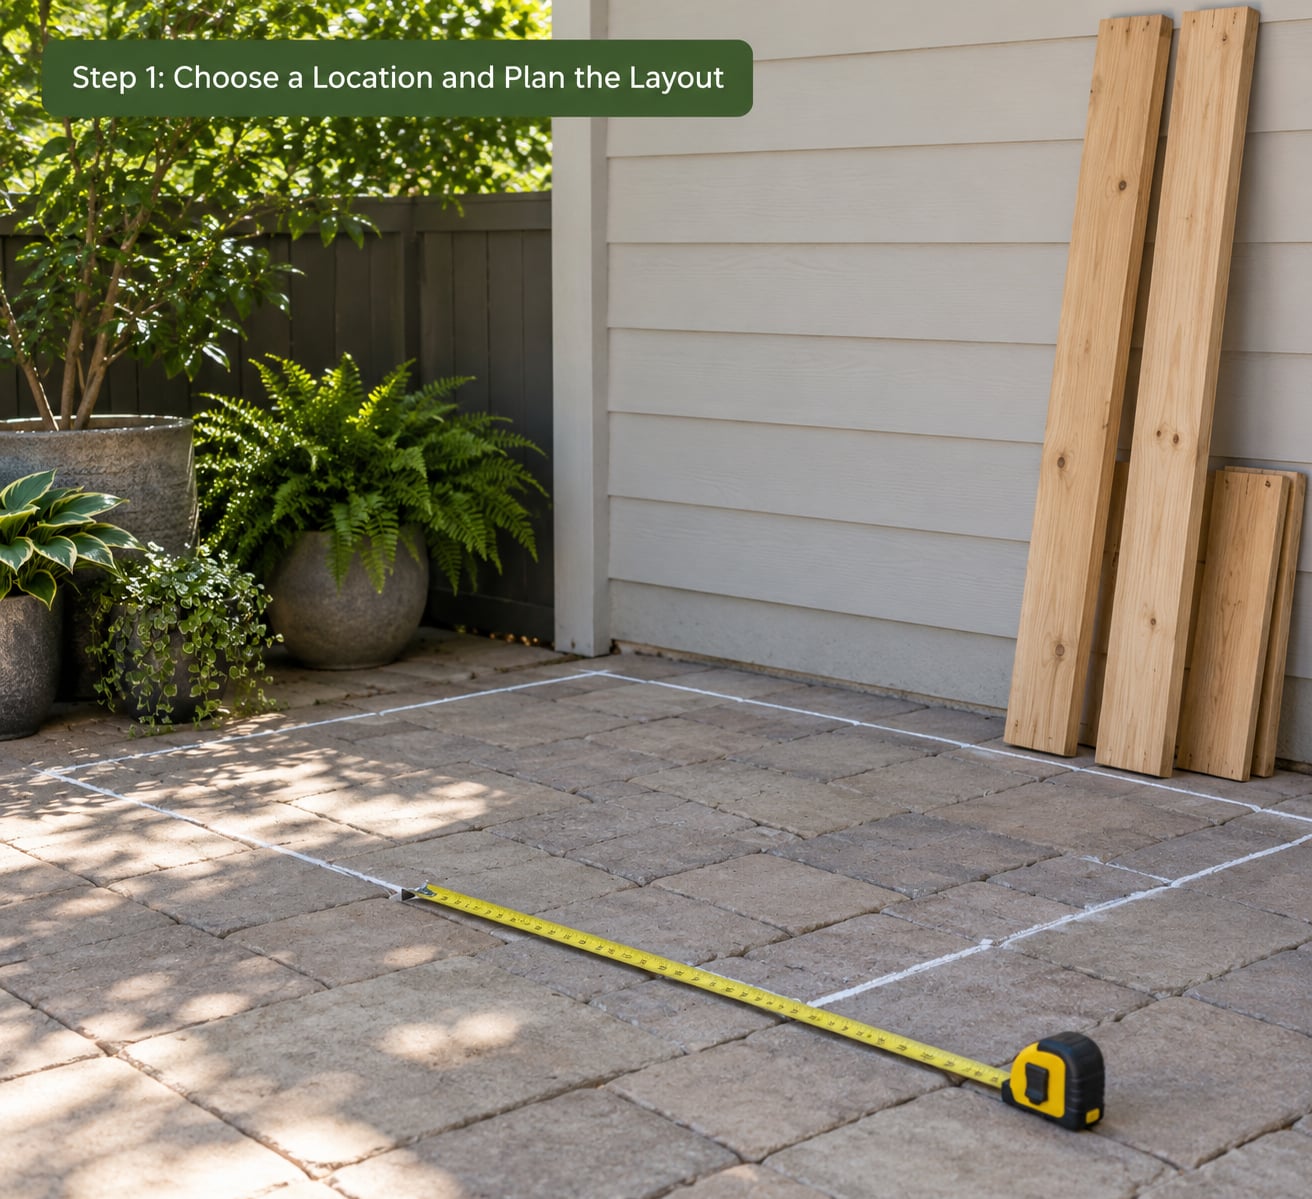
Pick a spot that is sheltered from the prevailing wind and gets morning sun rather than brutal afternoon heat. Draw the footprint on the ground with marking paint first, then walk around it at cat height and look for anything that pokes, sticks or looks inviting to climb.
Drainage matters more than most people expect. Slope the finished floor about a quarter inch per foot away from the house so water runs off instead of pooling against the base, and keep the structure off the low corner of the yard.
Plan the door position before the frame goes up. The access door should sit on the side away from neighbours and sightlines, not in the middle of a shared wall. Sketch in the cat door location, the shelf heights and where the shelter box goes.
Step 2: Build the Frame and Secure the Enclosure
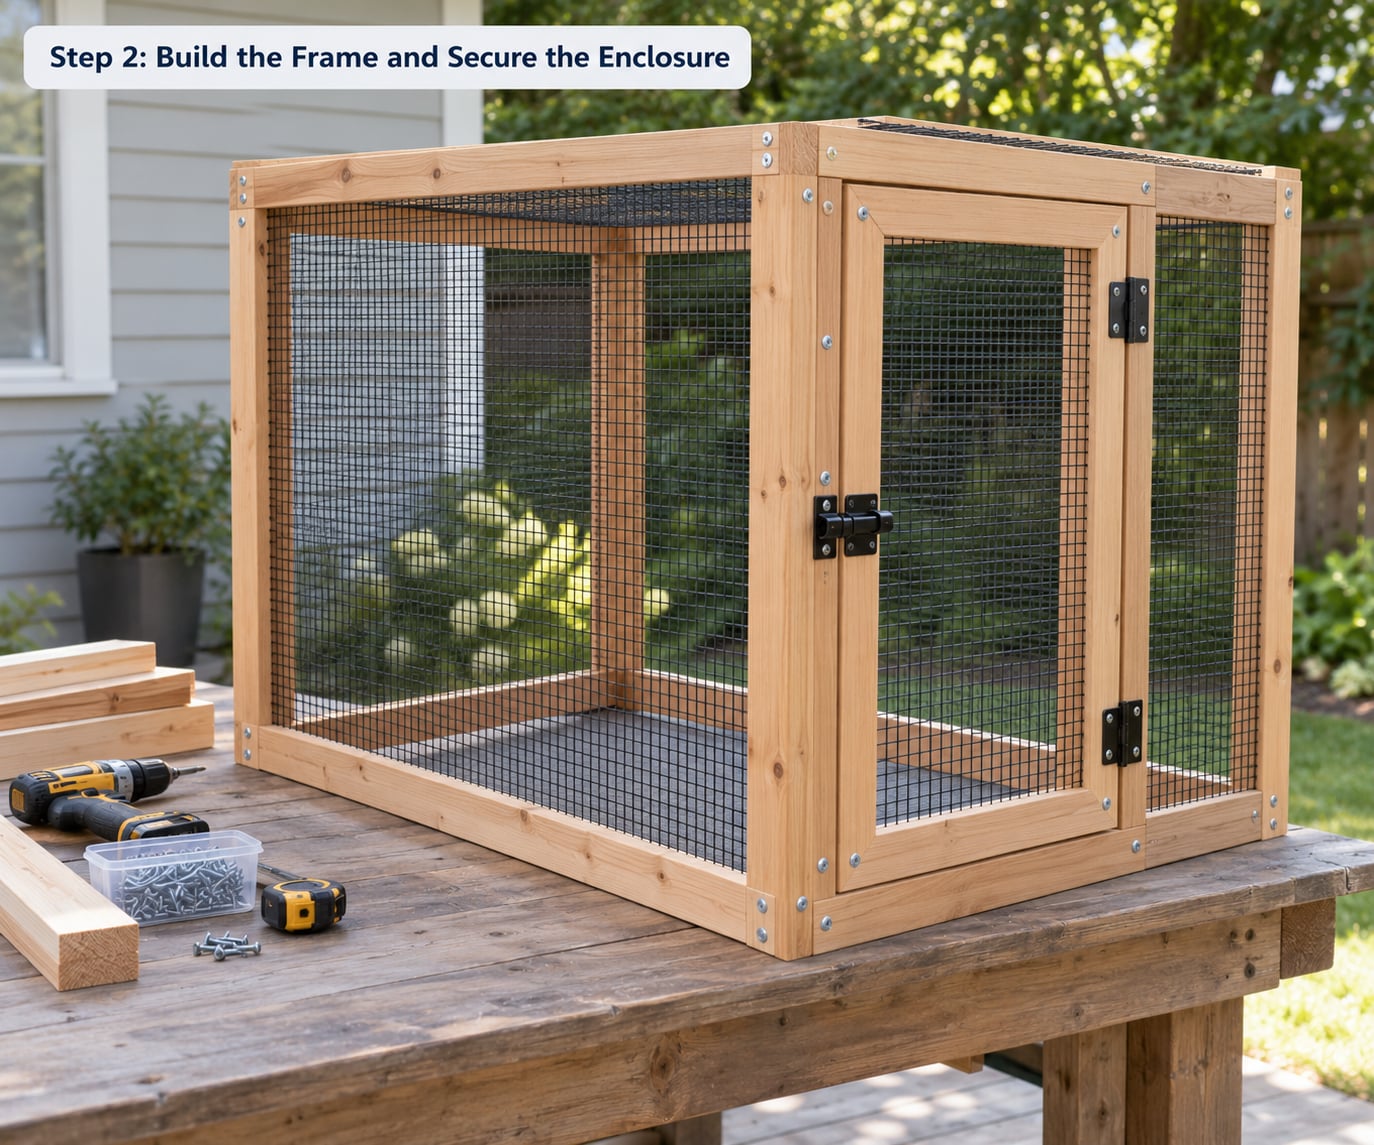
Cut the 2×4 frame members, assemble them flat on the ground, then stand the walls up and bolt them together. Build the two long walls the same width and let them drop onto the base rails, so squaring the whole thing is quick.
Anchor the structure to the house. Forum builders consistently recommend bolting the catio to the wall, because an unanchored enclosure can be shoved or tipped by a wild animal. Use lag bolts into studs or masonry anchors into brick, and bolt the base frame to the ground as well.
Attach the mesh with battens, not staples alone. Cut the mesh to overlap the frame by at least two inches all round, staple it in the middle of each panel, then screw a 1×2 batten over the edge on both faces. The sandwich is what stops a cat pushing through a seam and pulling the staples out with it.
Work from the bottom up and check for gaps as you go. Every screw head, every staple and every joint is a place a paw can find leverage.
Step 3: Add Weather Protection, Flooring, and Shelter
Give the roof a slope of about 1 inch per foot so water sheds toward an open edge rather than down the wall of the house. Run a metal or rubber flashing strip along the junction where the roof meets the siding, because that seam is where leaks start and where damp framing begins to rot.
Cover the roof with corrugated metal or polycarbonate. Corrugated metal is cheaper and lasts longer; polycarbonate lets in more light and stays cooler underneath in summer.
For the floor, use outdoor carpet matting, artificial grass or pavers laid on a compacted base. Skip bare soil, where you will have weeds, mud and a cat that digs out in a single afternoon. The floor should feel different underfoot from your indoor floors, which helps your cat sense the change of space.
Stop digging under the base with an apron. Bend L-shaped steel angle or hardware cloth flat on the ground, extending 16 to 24 inches out from the frame on all sides, and pin or weigh it down. Buried wire works too but it is a lot of trenching. If predators are a real possibility, weight the apron with pavers.
Add a dry resting spot: a wooden shelf box tucked into a corner, elevated off the wet floor, with a washable pad inside. In hot months, shade is the thing your cat will search for first.
Step 4: Add Cat-Friendly Enrichment and Safe Access
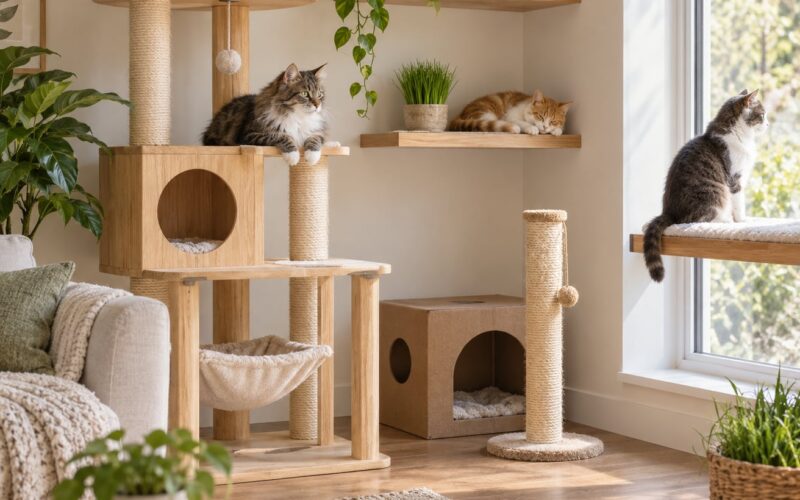
Vertical space matters more than floor space. Mount shelves at staggered heights around the walls, leaving clear jumping gaps of about 12 to 18 inches so a cat can climb without a straight-up jump of more than it can manage. Fix each shelf on at least two brackets or bolt it into the frame directly.
Wrap a couple of uprights in sisal rope for scratching, add a shallow shelf at window height for watching the street, and hang a toy or two that can be swapped out weekly. A ramp made from a sturdy board with carpet or shelf liner tacked on works well for older cats.
Plants need care. Cat grass in a planter is safe. Lilies are not, in any quantity, and neither are most bulb plants if your cat chews them. If you are unsure about a species, treat it as toxic until you have checked, and keep everything in heavy pots a determined cat cannot tip.
The house-to-catio transition is where most escapes happen. Three approaches work well in practice: a properly fitted cat door with a rigid flap and a tunnel, a rigid tunnel bolted between the two, or a simple table-and-cage arrangement the cat walks under. Whatever you choose, the joints between the house wall, the tunnel and the catio frame are the weak points.
Line that junction so there is no ledge, no gap and no way back into the house that the cat can use as a shortcut. If you are not confident in it, keep the access door locked from the inside and only open it when you are home for the first few weeks.
Step 5: Check the Catio and Introduce Your Cat Slowly
Run the final safety checklist before the cat ever sees it. Crawl through the space yourself and look at everything from low down: mesh edges, staples, screws, sharp lumber ends, the top of the door, the gap under the flap, the base apron. Then confirm the latch actually holds when you pull on it from outside.
Sit in the catio for ten minutes and watch for heat pockets and wind funneling. If it bakes at noon, add a second roof layer or an awning panel.
For the introduction, place your cat inside with you present, close the door, and let them explore for 15 minutes or so. Do this for a few days before you let them use it alone. Many cats will hide for the first day or two, which is normal.
After that, keep the door locked or bring your cat in at night. Forum regulars treat nightly indoor confinement as the default even with a solid enclosure, and it costs you nothing to do it.
Common Mistakes
Almost every bad catio story traces back to one of these.
- Soft netting. It works for a calm indoor cat on a fourth-floor balcony and fails everywhere else. Excited cats tear through it, and wild animals treat it as an invitation. Use welded wire or hardware cloth if there is any predator or stray dog in the area.
- Chicken wire. It is flexible, so a determined cat can push a section aside and slip out. It is also thin enough to chew through over time.
- Mesh stapled with no battens. The first hard shove pulls the staple and starts an escape route. Sandwich the mesh between two battens on every edge.
- Shelves on a single bracket. A jumping cat generates far more force than the shelf’s static weight suggests. Two brackets, screwed into studs or the frame, no exceptions.
- Toxic plants. Lilies, in particular, cause acute kidney injury in cats. Check every species, including anything brought in from a garden centre.
- No drainage and no apron. Standing water rots the frame, and bare soil under the frame is an open invitation to dig out.
- Untreated lumber and plain screws. Both fail outdoors. Treated lumber and galvanised or stainless fasteners cost a little more upfront and save a rebuild.
- No anchor to the house. A lightweight structure can be shifted by an animal or pushed by a storm. Bolt it down.
- Opening the access before the space is secure. A single gap left on day one can undo weeks of careful work, because the cat learns where it is.
A few habits keep a build in good shape. Walk the mesh and the base apron once a month, more often after a storm. Re-tighten hardware in spring and autumn as the lumber moves with moisture. Rinse the floor mat, keep the litter or waste area clear, and pull standing water out of any low corner after heavy rain.
Frequently Asked Questions
Is it cheaper to buy or build a catio?
Building is usually cheaper in materials, especially if you already own a saw and a drill, but it costs a full weekend of your time. Ready-made wooden units sit in the middle on price and can be assembled in an afternoon, though cheaper ones often split or rust after one wet season. Kits are worth it for window boxes and balcony frames, where the cut list is simple.
Is it safe to keep my cat outside in a catio?
A properly built catio is a safe option for an indoor cat, because it removes the biggest risks of free roaming: traffic, predators, poison, parasites and fights. Safety depends entirely on there being no gaps, a lockable door, a bolted-down frame and a buried or pinned apron. Many owners still bring their cat in overnight, which adds a further layer of protection.
What is the best mesh for a catio?
Welded wire with a 2×2 inch opening or smaller, or half-inch hardware cloth, will hold any cat and most small predators. Fine soft netting is fine for a calm indoor cat on a high balcony but tears easily and can be pulled apart by wild animals. Chicken wire is the weakest option because its flexibility lets a determined cat bend an opening wide enough to squeeze through.
What should I put at the bottom of a catio?
Use artificial grass, outdoor matting or pavers on a compacted, slightly sloped base so water drains away from the house. Avoid bare soil, which turns to mud and gives your cat somewhere to start digging. Whatever you lay, pin down a 16 to 24 inch apron of hardware cloth or steel angle around the outside to stop digging under the frame.
Are cats happy in catios, and do vets recommend them?
Most indoor cats use a well-built catio heavily, especially when it has shelves, a scratching surface and shade. Many vets see them as a good compromise for cats that need sun, air and stimulation without the risks of going outside unsupervised. Watch for a cat that hides constantly or stops eating, and talk to your vet if behaviour changes once the catio opens up.
How big should a catio be?
For one cat, aim for at least 4 by 6 feet of floor with 6 feet of height, then add shelves so the space works vertically. Add roughly 25 square feet for each extra cat, plus a second exit so nobody gets cornered. Bigger is better, but height and layout matter more than footprint once you pass the basic minimum.
Conclusion
Start with five things and the rest of the build takes care of itself. Level a base that slopes away from the house, bolt the frame to the wall and the ground, and use welded wire or hardware cloth sandwiched between battens. Add a solid roof with a shaded, dry resting spot, pin down an apron so nobody digs out, and sweep the whole space at cat height before you open it.
Take your time on the house-to-catio junction. That is where escapes happen, and it is the one part worth getting right before 2026 turns cold. Introduce your cat slowly, keep the door locked when you are not watching, and bring them in at night. Get those habits in place now and the build stays a weekend project instead of a running repair job.