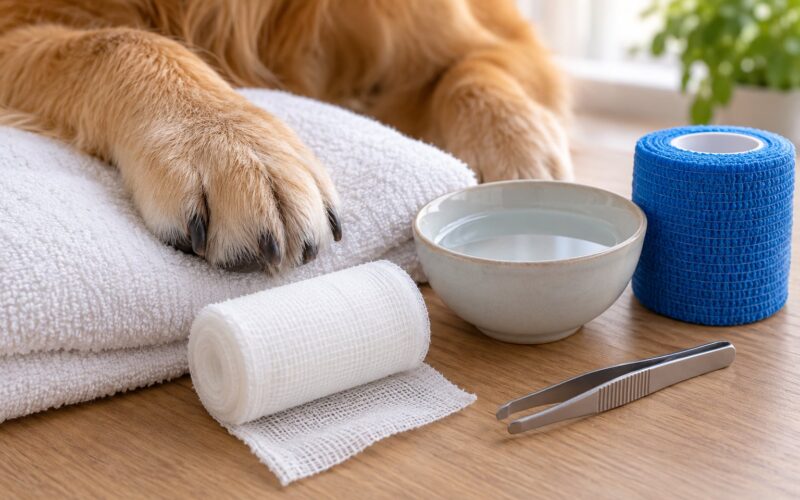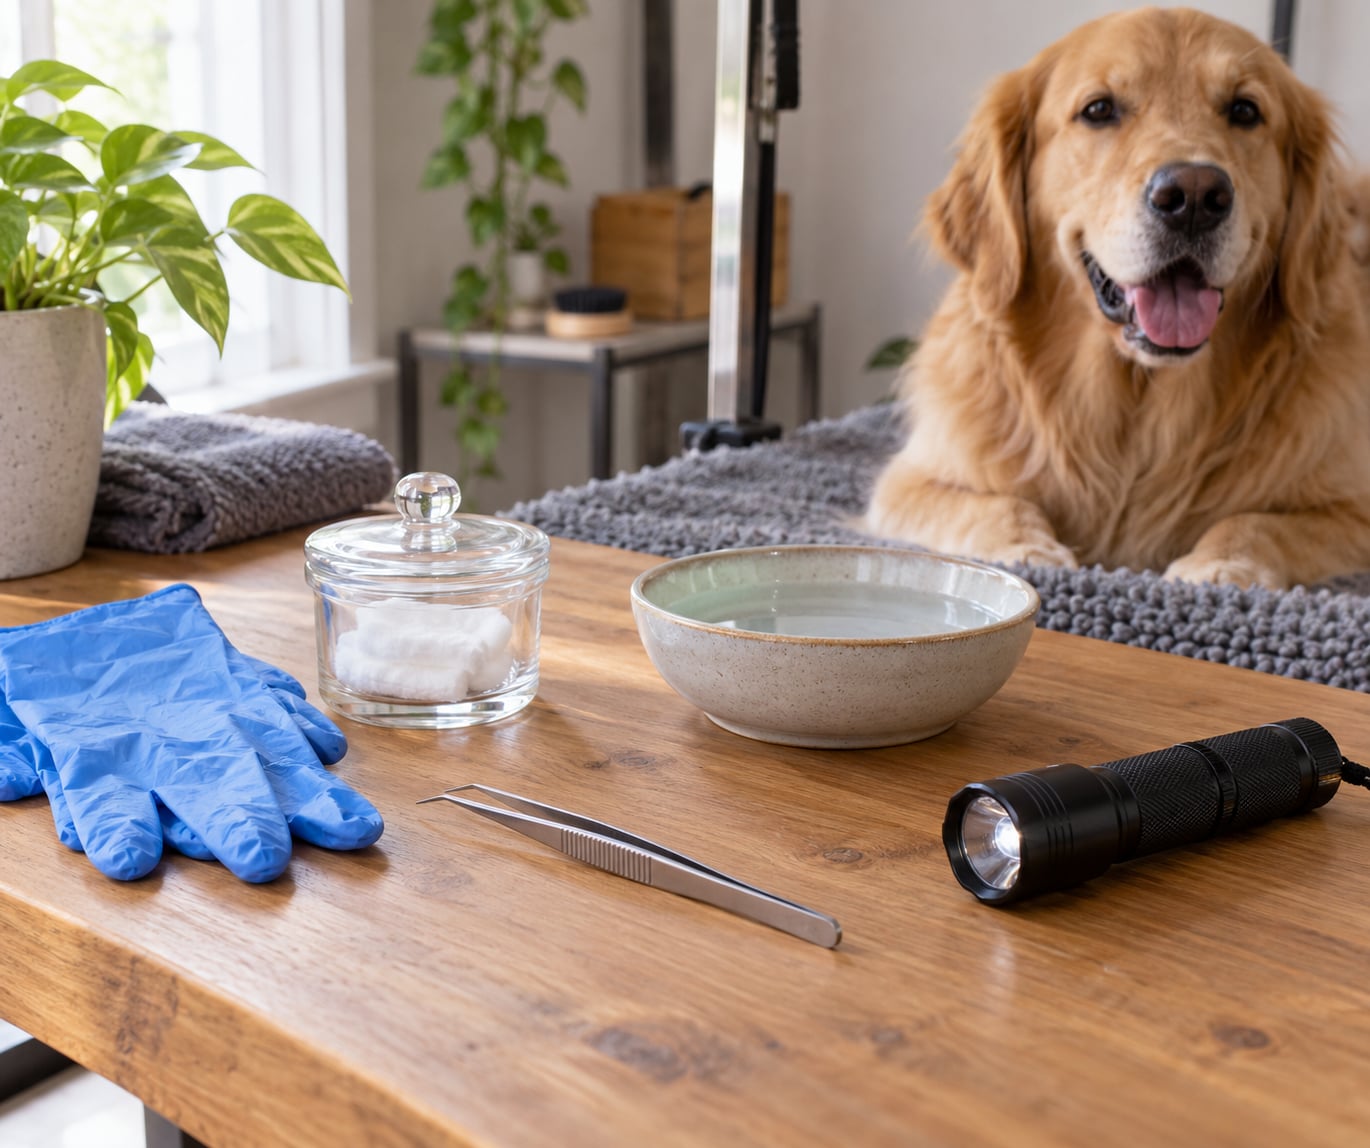
To remove a tick from a dog correctly, you part the fur, grip the tick with fine-tipped tweezers as close to the skin as you can, and pull straight up with slow, even pressure — no twisting, no squeezing, no yanking. The whole job takes about two minutes once the dog is steady. Most owners who have done it before say the hard part is nerves, not technique.
A tick is an arachnid with eight legs, and it locks into the skin with barbed mouthparts. That is why nothing you pour or smear on it works: suffocating it, burning it or irritating it can make it release fluid into the bite. Mechanical removal is the only reliable method, and prompt removal is the single most useful thing you can do for your dog, because the risk of tick-borne disease climbs the longer a tick stays attached.
Table of Contents
- What You Need
- Step-by-Step: How to Remove a Tick from a Dog Correctly
- 1. Keep the dog calm and locate the tick
- 2. Disinfect your hands and prepare the removal area
- 3. Grasp the tick as close to the skin as possible
- 4. Pull upward with steady, even pressure
- 5. Dispose of the tick and clean the bite area
- 6. Check the dog and prevent future ticks
- Common Mistakes and How to Fix Them
- Frequently Asked Questions
- Does my dog feel it while the tick is being pulled out?
- What do I do if the tick breaks and the head stays in?
- Do leftover mouthparts ever need surgical removal?
- When should I take my dog to the vet instead of removing a tick myself?
- How do I stop my dog from picking up ticks again?
- Conclusion
What You Need
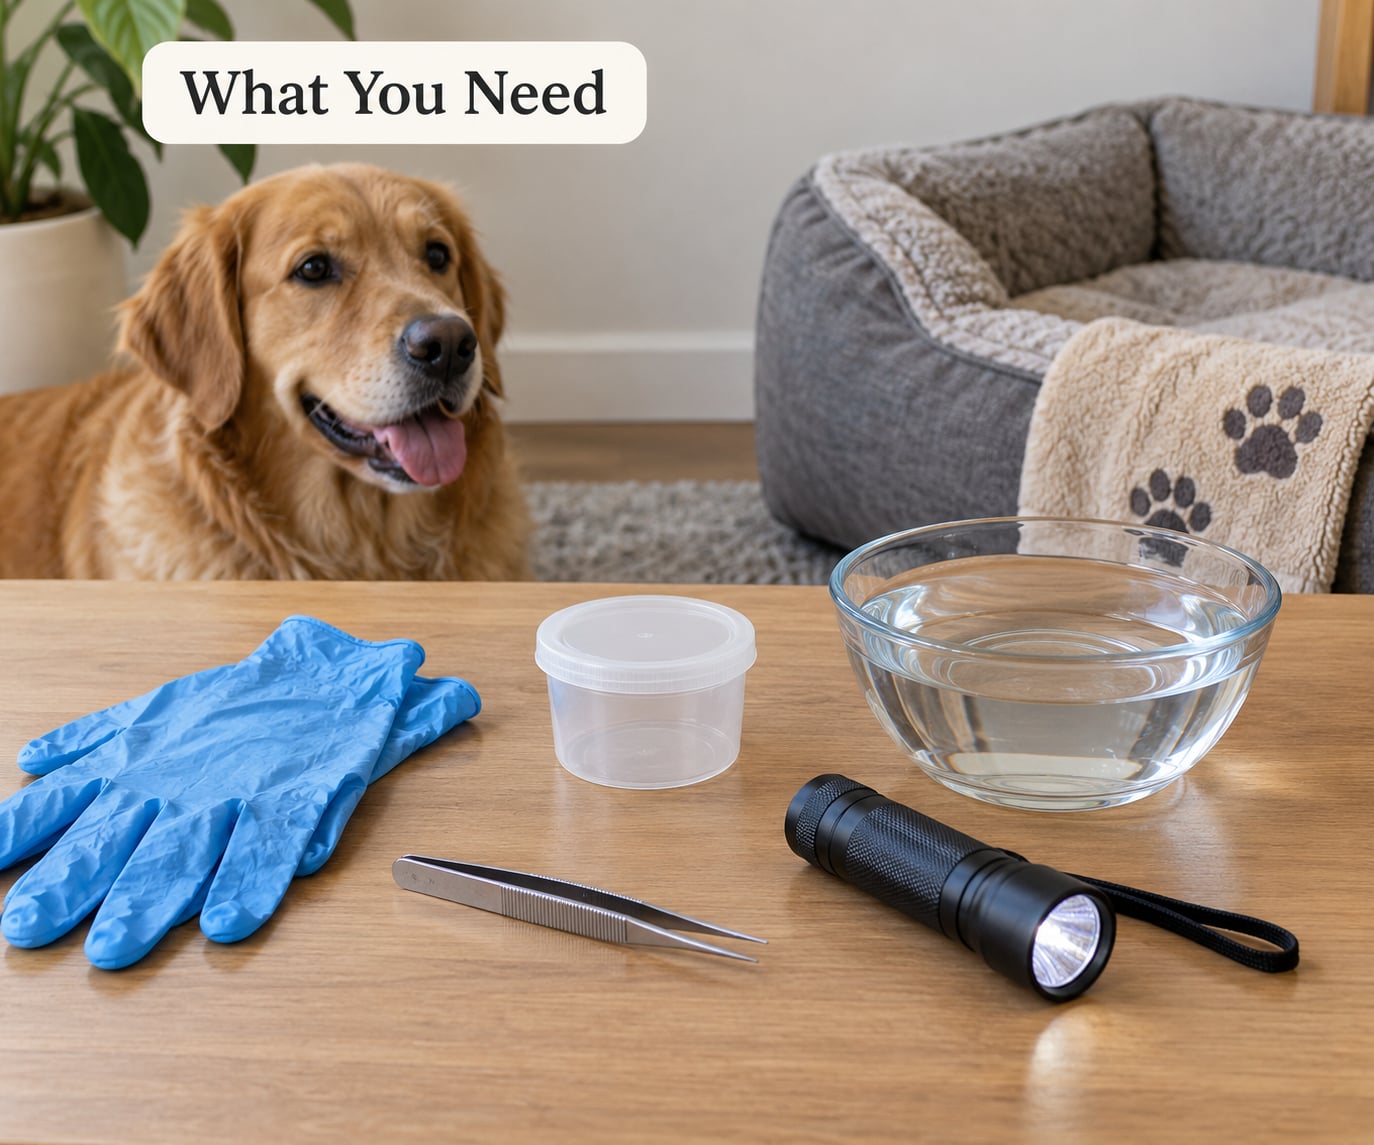
Gather everything first. Rushing the set-up is how most bites end up messy.
- Fine-tipped tweezers — the narrower and pointier the better, because you have to reach the head without touching the body. A dedicated tick remover tool works just as well if the jaws are flat rather than pointed.
- Disposable gloves — for your hands and anyone helping. Ticks carry pathogens and you want them off your skin and out of the house.
- Clean water and a dog-safe antiseptic — for your hands before and after, and for the bite area once the tick is gone.
- A sealed container — a zip bag or a lidded jar. You may want to keep the tick for testing, so do not flush it or throw it outside where another animal could pick it up.
- A flashlight — ticks hide at the skin line, and good light is what makes them visible at all.
- A helper and high-value treats — one person holds, one person works. This is not optional for most dogs.
Never reach for petroleum jelly, nail polish remover, alcohol applied to the tick, a lighter or a hot iron. Skip human medication of any kind, including pain relievers and antihistamines intended for people — what is safe in a human is not automatically safe in a dog. If you want to calm the skin afterwards, ask your veterinarian which product is appropriate for your dog.
Step-by-Step: How to Remove a Tick from a Dog Correctly
1. Keep the dog calm and locate the tick
Have your helper hold the dog standing or lying down, with a treat hand ready. Talk in a low, boring voice; excitement makes a dog move more, not less.
Run your hands over the coat with the flashlight and part the fur down to the skin. Check the places ticks actually hide: inside the ears and the ear flap, the neck and collar line, between the toes and in the armpits, the groin, the tail base, and around the eyes. On a double-coated dog, a hair dryer on cool helps you see skin you would otherwise miss.
Stop and reassess if the dog is likely to bite, if the tick sits somewhere you cannot reach without hurting the dog, or if the mouthparts are buried under swollen skin. Those are clinic jobs.
2. Disinfect your hands and prepare the removal area
Wash and dry your hands, then put on disposable gloves. Do this before you touch the dog, not after you notice a tick mid-scratch.
Have the tweezes open and ready, the container within arm’s reach, and the light aimed at the spot. Put nothing on the tick itself. Whatever you apply can irritate the skin and provoke the release of fluid into the wound.
3. Grasp the tick as close to the skin as possible
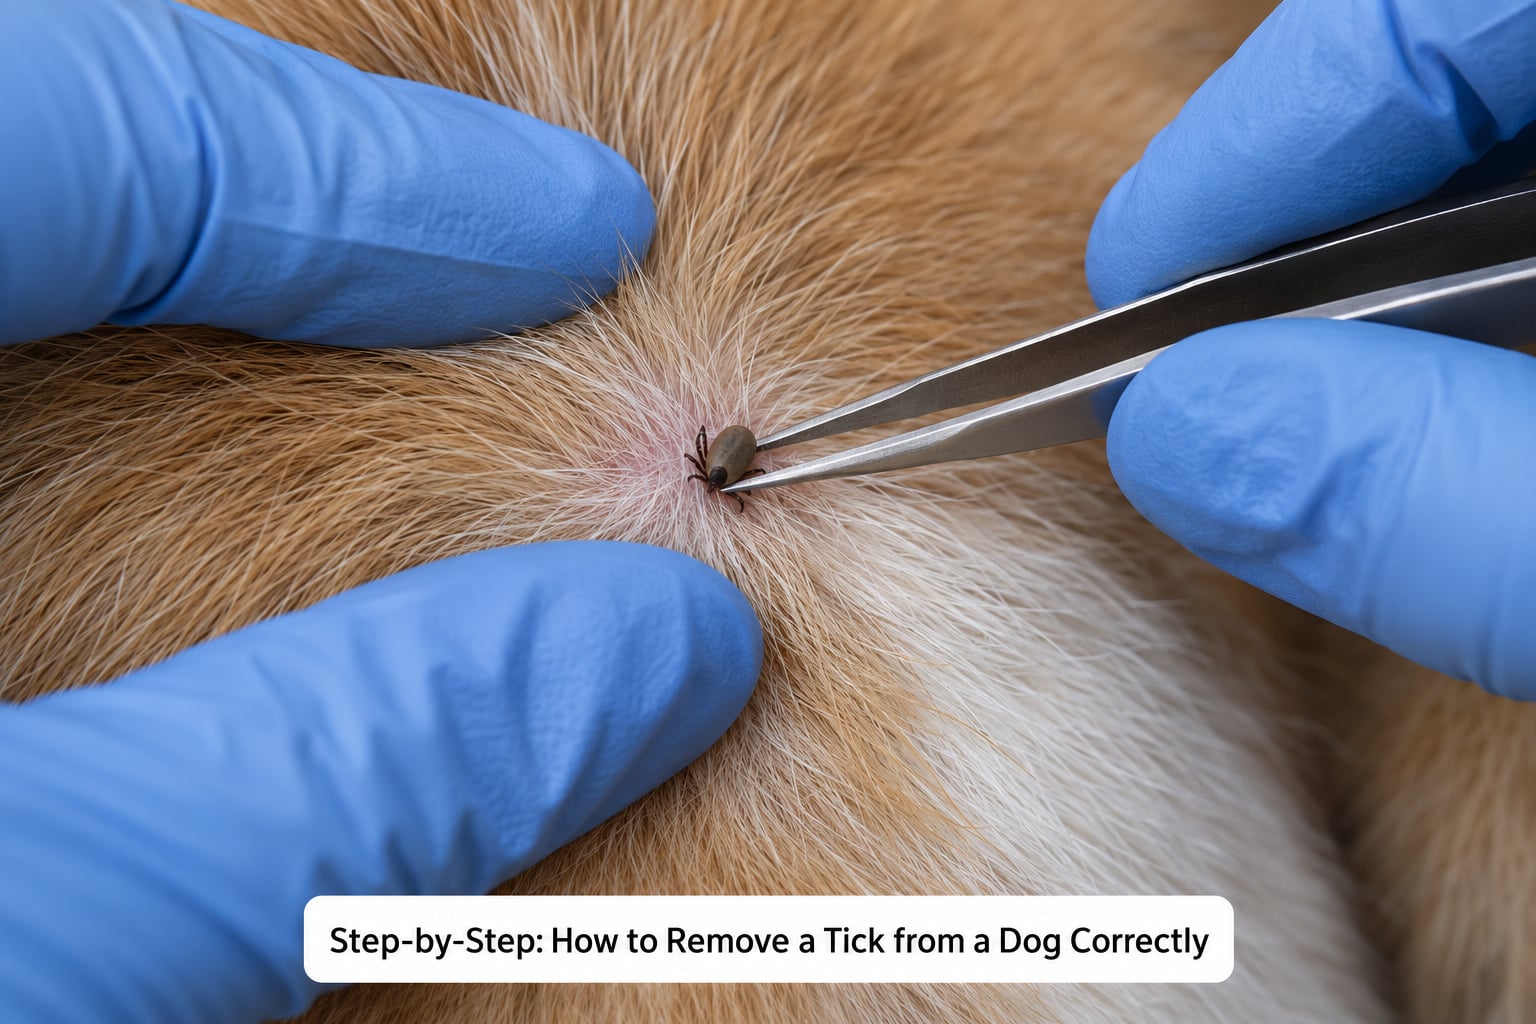
Slide the tips of the tweezers down the body until the jaws close on the head, right at the surface of the skin. You are gripping the mouthparts, not pinching the middle of the swollen abdomen.
Squeezing the body is the most common mistake and the one that worries owners most, because an engorged tick can be forced to regurgitate into the bite. Do not flick it away with your fingernails, and do not spin the tweezers quickly to get a grip. Grip once, firmly, and commit.
4. Pull upward with steady, even pressure
Pull straight up, directly away from the skin, along the line the mouthparts entered. Keep the pressure unbroken — slow and consistent beats fast and hesitant every time. Most ticks release within a second or two of a steady pull.
Do not twist while you pull. If the tick resists, keep holding what you have and maintain the same even pressure rather than changing direction.
If the tick breaks and the mouthparts stay behind, do not dig at them with a needle or tweezer tips. Move on to disposal and cleaning, then watch the site for the next week. The remnant usually works out on its own.
5. Dispose of the tick and clean the bite area
Put the tick straight into the sealed container or bag. If you want it identified or tested, note the date and the dog’s travel history on the bag before it leaves your hands.
Wash your hands and the dog’s bite area, then dab the spot with a dog-safe antiseptic if there is redness or oozing. No alcohol into the wound, since it stings and dogs react to stinging. Look closely for a remaining dark speck, and remember that a small red bump for a day or two is a normal local reaction.
6. Check the dog and prevent future ticks
Do a full-body check, not just the spot you found. One tick rarely travels alone, so go back over the ears, paws, neck and tail base with the flashlight and the same methodical part-the-fur approach.
Check every other pet in the home and be honest about the humans too — people get ticks too, and the same products that protect dogs do not apply to you. If you find more than a few ticks on one dog, that is worth mentioning to your veterinarian, since it points at an environment problem rather than bad luck.
Prevention is the part people skip and then regret in autumn. Talk with your vet about what tick prevention suits your dog, and keep it on schedule year-round. Options include oral preventives, topical products and collars, and they work best applied on a regular basis rather than after you spot a tick.
Common Mistakes and How to Fix Them
Most of the advice circulating online for tick removal is old folklore that fails in predictable ways. The corrections are short.
- Squeezing the body to make it pop out. This can push infected fluid into the bite. Grip the head at the skin line instead.
- Smearing petroleum jelly or nail polish remover on the tick. Both suffocate or irritate it, and a struggling tick releases fluid and can leave mouthparts behind. The same goes for alcohol, which many people apply to the tick itself.
- Burning it with a lighter or hot tool. Besides the obvious burn risk to your dog, it damages tissue and does not cleanly remove the tick.
- Twisting back and forth while pulling. The mouthparts shear off. Pull straight, steady and upward.
- Yanking at speed. A slow, even pull takes one or two seconds and comes out whole; a fast yank often does not.
- Using human medication. Ibuprofen, acetaminophen and human antihistamines can be dangerous for dogs. Ask your vet what is safe before giving anything.
- Finding one tick and stopping. Owners who do a whole-body check the same day catch the rest early. That is the whole advantage of doing it yourself rather than waiting for the next grooming appointment.
- Flushing the tick down the toilet or tossing it outside. Seal it in a container instead. That keeps the pathogen off your property and gives you the option of testing it later.
Call your veterinarian rather than improvising if the dog fights hard enough that you risk a bite, if the tick is in an ear canal, mouth, eye or deep between the toes, if you see several ticks at once, if the bite site swells, opens or bleeds days later, or if your dog develops fever, tiredness, stiff or sore joints, swollen lymph nodes or a rash days or weeks afterwards. Those are the signs of tick-borne illnesses such as Lyme disease, ehrlichiosis or anaplasmosis, and they deserve a real examination. Sudden weakness in the back legs that spreads forward is an emergency and needs same-day care.
One more caution that catches owners out: do not apply a topical spot-on preventive in the first day or two after removing a tick without asking your vet. If a tick is still attached somewhere you missed, the product can affect it and it may rupture in the dog’s stomach. A quick full-body check comes first.
Frequently Asked Questions
Does my dog feel it while the tick is being pulled out?
A tick bites quietly and its mouthparts are tiny, so most dogs notice nothing until it is already attached, and some never scratch at the spot at all. Some dogs do react mid-pull, more from the handling and the fuss than from pain. If your dog squirms, do not keep pulling mid-movement. Hold, pause until they settle, and continue with the same steady upward pressure.
What do I do if the tick breaks and the head stays in?
Do not dig for it with a needle or squeeze the skin to push it out. Clean the area with water and a dog-safe antiseptic, and let the remnant work its way out on its own over the next few days, which it usually does. Watch for swelling, discharge or a bite that keeps enlarging. Contact your veterinarian if there is no improvement after about a week or if the site becomes hot, open or painful.
Do leftover mouthparts ever need surgical removal?
Rarely. Most fragments of mouthparts left after a partial removal are absorbed or shed by the skin within days to a couple of weeks, exactly like a small splinter working out. A veterinarian would only consider removing one if it caused a persistent infection, formed a lump that would not settle, or sat in a spot that keeps being irritated. Persistent discharge or a non-healing sore after two weeks is the point to get it looked at.
When should I take my dog to the vet instead of removing a tick myself?
Go in when the tick is inside an ear canal, in the mouth or near the eye, wedged deep between the toes, or buried under heavily swollen skin. Also go in if your dog is aggressive or in pain, if you cannot hold them still, or if you find several ticks at once. Afterward, any fever, lethargy, stiff or sore joints, or swollen lymph nodes in the days and weeks that follow need an examination.
How do I stop my dog from picking up ticks again?
Ask your veterinarian which preventives suit your dog and keep them on a schedule all year rather than only in summer. Oral, topical and collar options all work, and which one fits depends on your dog’s coat, habits and weight. Also tick-proof the yard by keeping grass and brush cut, check the dog after every walk in tall grass or woodland, and check other pets in the home, since ticks move between animals.
Conclusion
Stay calm, locate the tick, grip it with fine-tipped tweezers as close to the skin as you can get, and pull straight up with steady pressure until it releases. That is the whole method.
Then seal the tick in a container in case you want it tested, clean the bite area, and check the rest of your dog and any other pets that day. Ask your veterinarian about tick prevention, and mention the removal if your dog later develops fever, tiredness or stiff joints, even weeks after the bite.