The first week decides how the next three months go. To help a rescue dog settle in, prepare a quiet room before pickup day, keep days one to three deliberately boring, feed and walk on a fixed schedule, and let the dog’s own signals tell you when to add something new. Most of the work is preparation and restraint, not training.
Most adopters underestimate the decompression period. A dog leaving a shelter arrives with stress hormones still high, an unfamiliar body, and no idea what your household routine means. The widely used 3-3-3 rule describes the arc: about three days of overwhelm, three weeks of learning the routine, and three months until the dog truly feels at home. Week one lives entirely inside that first phase.
It is worth saying plainly that the first few days often look worse than the dog actually feels. A quiet, boring home is the intervention. Here is how to help a rescue dog settle in the first week, day by day.
Table of Contents
- What You Need
- Step-by-Step: A Calm First Week
- Day 1: Make the Home Safe and Predictable
- Day 2: Build Trust Without Rushing
- Day 3: How to Help a Rescue Dog Settle In With a Simple Daily Routine
- Day 4: Help the Dog Learn Where to Eliminate
- Day 5: Introduce Gentle Manners and Handling
- Day 6: Gradually Expand the Dog’s World
- Day 7: Review Progress and Plan the Next Month
- Common Mistakes
- Frequently Asked Questions
- What is the 3-3-3 rule for rescue dogs?
- How long does it take a rescue dog to settle in?
- Should I crate my rescue dog during the first week?
- What if my rescue dog will not eat in the first few days?
- How do I handle crying at night or distress when I leave the house?
- When should I call the veterinarian during week one?
- How to Help a Rescue Dog Settle In the First Week
What You Need
Gather everything before the dog arrives. Setting up after pickup is how people end up with a frightened dog loose in a half-prepared house.
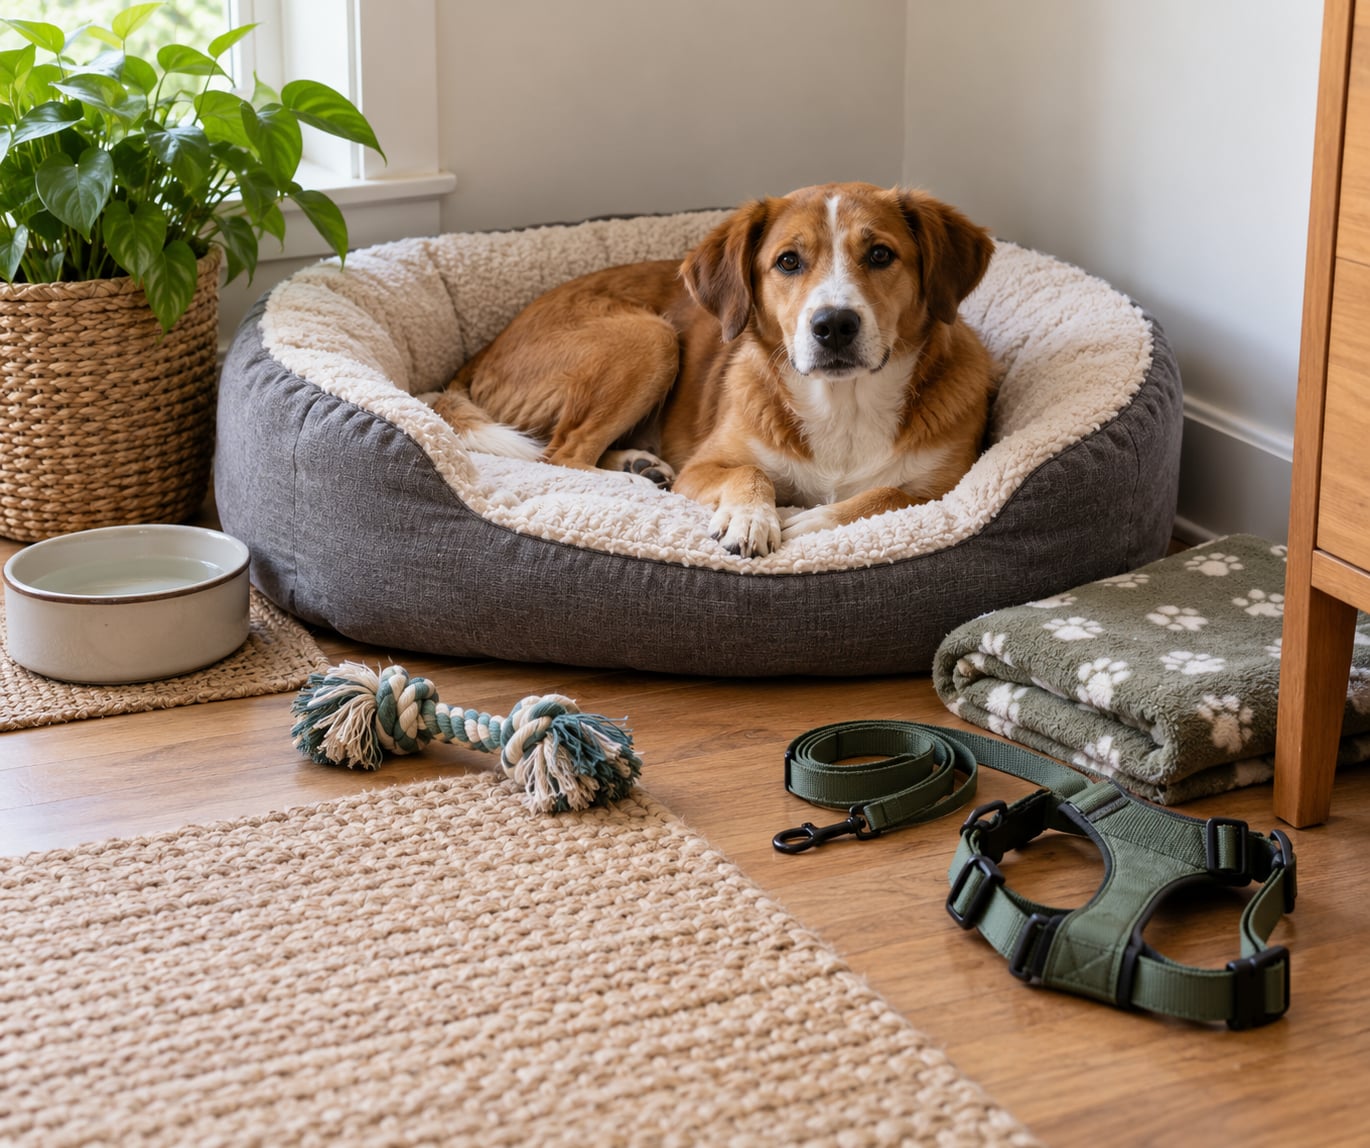
- A quiet resting area. A low-traffic room with a bed in a corner, or a crate or exercise pen you are comfortable using. Not the middle of the living room.
- Food and water. Ask the rescue what the dog is currently eating and buy that exact food. A sudden diet change on top of a new home is a common cause of stomach upset in week one.
- Familiar bedding. If the shelter or foster home can send a blanket or piece of fabric that smells like the dog’s previous environment, that scent helps more than anything you buy new.
- Identification and records. The microchip number, vaccination history, spay or neuter status, medication list, and the rescue organization’s phone number, written down and kept somewhere obvious.
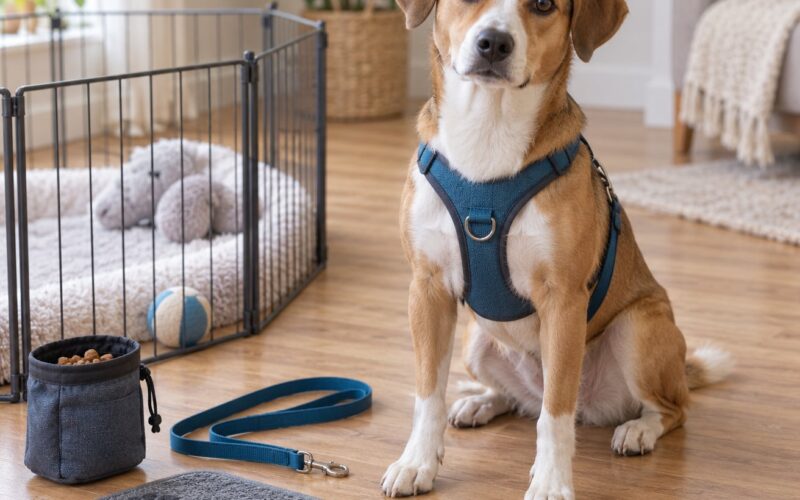
- A secure leash and a well-fitted harness. Many rescue dogs slip collars. A harness gives you two points of contact, which matters a great deal with a dog that pulls or tries to bolt.
- A gate or crate if appropriate. Baby gates let you control doorways without the dog being confined. Crates work well for some dogs and badly for others, and a dog that shuts down in a crate should not be put in one.
- A chew toy or two and something to sniff. A snuffle mat, a lick mat, or a durable chew keeps a restless dog occupied without needing entertainment from you.
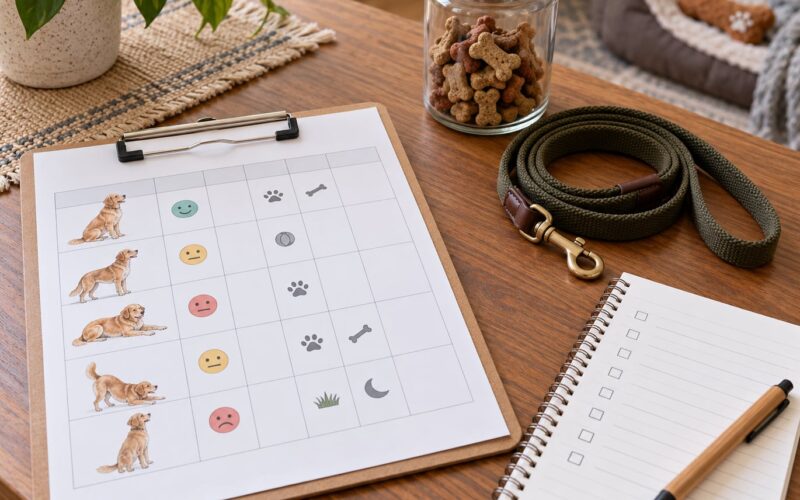
- A notebook. Write down sleep, appetite, bathroom times, and what the dog did each day. Your memory of day three will be wrong by day seven.
- A list of questions for the shelter or the veterinarian. Ask what the dog’s normal routine was, what the dog is afraid of, whether the dog eats alone or with company, and what the dog’s history is with handling.
One more thing matters more than the supplies: the decision to say no to visitors for the first week. It is the most common thing adopters regret skipping.
Step-by-Step: A Calm First Week
The outline below assumes an adult dog in reasonably good health. Puppies, senior dogs, and dogs recovering from serious neglect move at a different pace, and the rescue organization’s behavioral guidance outranks any plan on a website. Follow the dog’s signals rather than the calendar.
Day 1: Make the Home Safe and Predictable
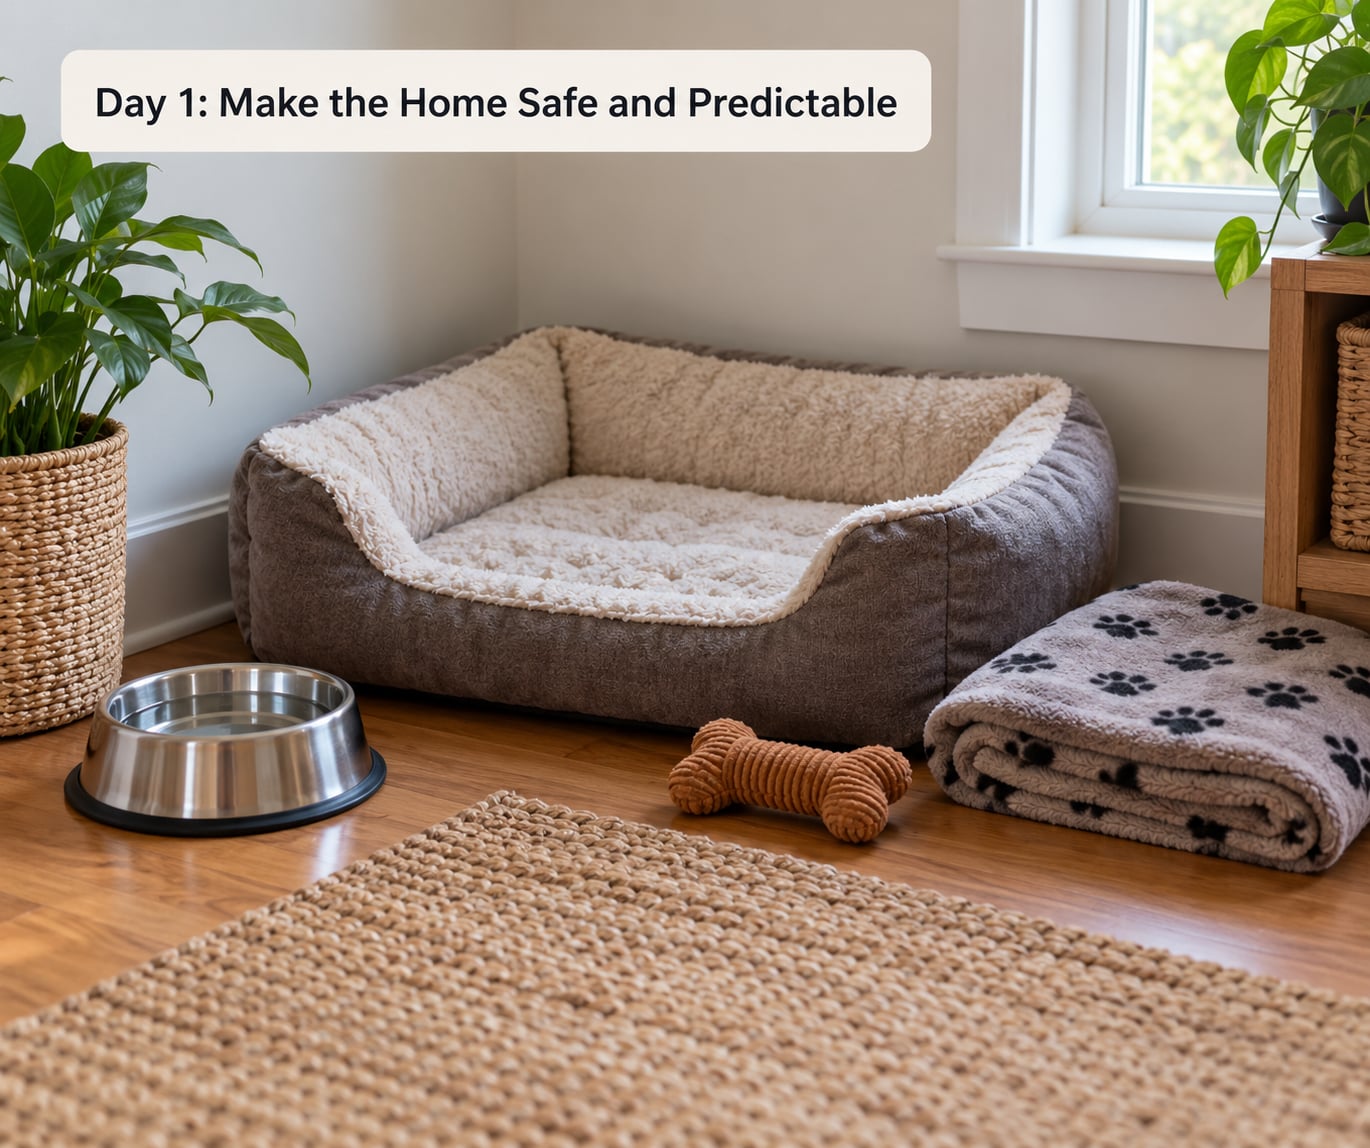
Carry the dog in or walk straight to the settling area and let the leash go. Do not greet, cuddle, or tour the dog around the house. Show the bed, show the water bowl, and then leave the dog alone for thirty minutes.
That first half hour is decompression. The dog is likely to circle, sniff everything, look at you constantly, cry, or collapse into the corner. All four are normal. Take a shower, tidy a room, or sit in another room.
Put the food down in the same quiet spot later in the day. Watch what you see and write it down: how much was eaten, whether water was touched, how long the dog slept, whether breathing sounded normal, whether the dog moved easily and without limping, and how far it explored.
Keep day one to four house rules, no matter how much you want to show the dog off. The dog does not need to be told this is its new home yet. It needs quiet.
Day 2: Build Trust Without Rushing
Sit in the room with the dog and do nothing. Read aloud, work at a laptop, or quietly tidy. Do not reach toward the dog. Most rescue dogs come to you within a few days once they decide you are boring and safe.
When the dog approaches on its own, mark the moment quietly and give a treat near your hand without touching the dog. A marker word used consistently, followed by a treat at the dog’s nose, builds a clear signal in seconds. It is the single most useful training tool you will own this week.
Handle the leash briefly. Attach it, let the dog take it into the same room, and take it off again. Five minutes is plenty. Many adopters try to hold a nervous dog tightly on the leash, and the dog learns that the leash means restriction.
Tell the household: no forced cuddling, no picking up, no reaching over the dog’s head. If the dog hides under the bed, that is fine. Sit on the floor nearby, toss a treat a little further away, and let the dog leave when it wants to.
If the dog hides almost all day and does not emerge for food, the goal this week is simply a shorter hiding distance. Sit in the same spot at the same time each day, ignore the dog completely, and drop a treat on the floor near your feet without looking. Repeat for five to ten minutes. Within a few days the dog will start checking the room before hiding, and within a week or two you can usually expect it to come out and watch you from a few feet away. Dogs that shut down like this often bond deeply later, so the slow approach is not wasted time.
Day 3: How to Help a Rescue Dog Settle In With a Simple Daily Routine
Rescue dogs usually need more sleep than adopters expect. Eighteen to twenty hours a day is common in the first few days, and a dog that sleeps hard through the morning and naps at noon is decompressing well.
A workable sample schedule:
- Wake: Let the dog out for a toilet break, then feed.
- Morning: A sniffing walk, ten to twenty minutes, no training. Let the dog smell every hedge.
- Midday: A meal, a chew, and a long rest in the settling area.
- Afternoon: One short training session of two or three minutes, plus a second sniff walk.
- Evening: Meal, toilet break, and a calm settle.
- Bedtime: Toilet break, then lights down. Same time, every night.
Hand-feeding the first few meals is the most effective bonding activity people report. Put the food in your hand, let the dog take it, and sit still while it eats. You are not training anything. You are teaching the dog that your hands bring good things.
Hand feeding only helps if the dog is eating at all. If your rescue dog will not eat in the first 24 to 48 hours, that is within the range many adopters report, and it usually resolves once the environment feels safe. See the FAQ below for what to do about it.
Day 4: Help the Dog Learn Where to Eliminate
Accidents in the house are common even with a dog reported as house trained. Kennels and shelter runs teach dogs to hold it, which is a different skill from using a yard.
Take the dog out to a chosen toilet area on a schedule: first thing in the morning, after waking from naps, after meals, and before bed. Reward quietly on the spot when it finishes. Some dogs prefer a longer toilet break than owners assume, so give it a few extra minutes.
Keep the same spot every time. Dogs locate a bathroom habit by scent and place, not by cue words.
Clean accidents with a pet-safe enzymatic product while the dog is elsewhere, or it will come back to the same spot. Never scold. A dog that is scolded at a mess it could not see learns to hide bathroom needs, which turns a solvable house-training problem into a concealment problem.
Track the times in your notebook. Within a few days the pattern becomes obvious, and you can preempt the accidents rather than cleaning them up.
If the dog eliminates in the house during the night after being house trained, do not assume it is defiance. Shelter dogs often have to hold it for long hours because of kennel cleaning schedules, so a dog can learn to wait all day and then lose control at night. Bring the last toilet break forward by thirty minutes and keep it consistent, and expect this to resolve within several days of regular nights at home.
Day 5: Introduce Gentle Manners and Handling
Two or three minutes is the right session length for a dog in decompression. Short and successful beats long and frustrated every time.
Work on four things: name response, eye contact, settling on a mat, and walking on leash without pulling. Reward generously, with soft treats, and end each session before the dog gets bored. Stopping while things still feel good is what teaches a nervous dog that training is safe.
Introduce handling in tiny pieces. Touch one paw for one second and reward, then stop. Repeat with a different paw, then the shoulder, then the ears, then the mouth area for nail trims later. The goal is a dog who can tell you when it is uncomfortable rather than freezing and enduring it.
Stop the moment you see tension: a lip lick when you reach, a body that goes stiff, a paw pulled away, a tail that clamps down. Pause that part and try again tomorrow. For many rescue dogs, cooperative care is a week-two project, not a week-one one.
Day 6: Gradually Expand the Dog’s World
Add one new thing. That is the whole instruction. One short car ride to sit in the car park, one new room with the dog walking ahead, one calm household routine that is not the dog being handled by anyone.
Trigger stacking is the reason week one often collapses on day six. When several stressful things land in a row without recovery in between, a dog who was coping on day one may shut down on day six. The signs are familiar: refusing food, hiding from a room it used to enter, or flinching at a sound it handled fine on day two.
If you see a reversal like this, it is not a training failure. Drop back to the boring routine you had on day three and hold there for a couple of days before trying again.
If you have resident pets, week one is not the week for introductions. Plan a slow introduction that starts with scent exchanged through a door and moves to parallel walks with a handler each, rather than putting them face to face on day three.
Day 7: Review Progress and Plan the Next Month
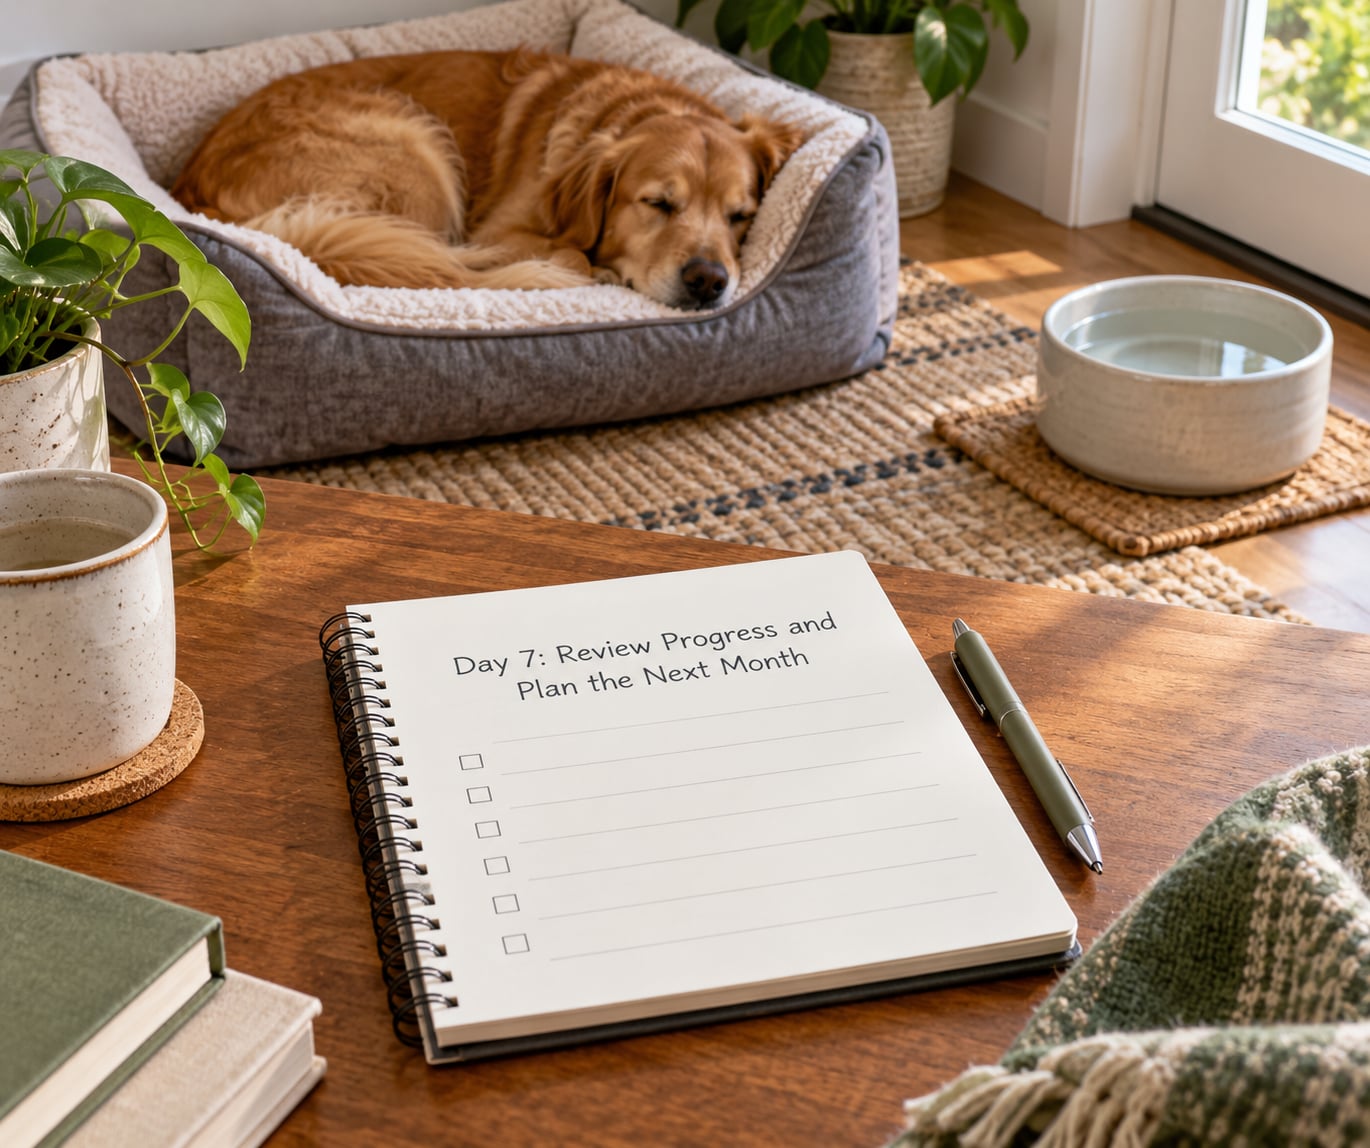
Sit down with your notebook and write down six things: sleep, appetite, elimination, response to the marker word, reactions to handling, and reactions to being alone. Progress in week one is rarely dramatic. It shows up as small changes in duration, distance, and willingness.
Signs that things are moving in the right direction include sleeping through more of the night, eating most meals, coming to you voluntarily, a looser body when you enter the room, and a dog that chooses to be near you sometimes instead of only hiding.
Signs that the dog is still fully in decompression include eating only when alone, spending all day in one hiding spot, flinching at ordinary household noise, and pacing at the door when you leave. Those are reasons for more patience and less stimulation, not reasons to escalate training.
Write down your open questions now, while the details are fresh, and decide who you will call. If your rescue organization offers a behaviorist line, use it now rather than in week six. Asking for help early is normal, and it is much cheaper than working through a guarding behavior that appeared after a rushed introduction.
Common Mistakes
- Too much freedom too soon. A dog left loose in a full house on day three learns where the bins are, how to open a door, and that barking brings people running. Use a gate, a leash, or a crate while supervision is thin.
- Visitors in week one. People arriving at the door triggers flight or guarding behavior. Post a message: visits happen in week three or four, and the dog does not come out of the settling room during them.
- Changing the routine constantly. Alternating between strict crate time and total freedom confuses a dog who is already processing a lot. Pick one structure and hold it for two weeks.
- Punishing accidents. Scolding teaches hiding, not house training. More breaks and enzymatic cleaning are what solve it.
- Giving human medication. Never give human medication to a dog. If you think pain, nausea, or anxiety is the problem, call your veterinarian and describe the behavior instead of guessing with pills.
- Mistaking fear for aggression. A growl, freeze, or snapped air is information about threshold, not disobedience. Punishing a warning label removes the label and keeps the behavior. Manage the situation, increase distance, and get behavioral help.
One more mistake deserves its own line: assuming the dog was fine for the first three days and something has gone wrong now. Adopters call this a honeymoon period, and it is real. Many dogs seem settled early and then show their real behavior once they feel safe enough to feel something. That is a step forward, not a step back.
Frequently Asked Questions
What is the 3-3-3 rule for rescue dogs?
The 3-3-3 rule describes a rough decompression timeline after a rescue dog arrives: about three days of feeling overwhelmed, three weeks of learning your routine and household rules, and three months until the dog feels genuinely at home. It is a guide, not a countdown. Shy, senior, and long-term-neglect dogs often move more slowly, and dogs raised in a stable temporary home sometimes move faster. Use it to set expectations, never to judge progress against a deadline.
How long does it take a rescue dog to settle in?
Most dogs show meaningful relaxation within three to seven days, including eating at home and sleeping through part of the night. Full adjustment usually takes three months, and some dogs take six or more. Watch for gradual change in appetite, sleep, willingness to explore, and body tension rather than a single milestone. If a dog shows no improvement at all after two weeks, or develops new guarding or fear behavior, contact the rescue organization and a veterinarian rather than waiting.
Should I crate my rescue dog during the first week?
Only if the dog settles down in a crate. Crates work well for many dogs because they are small, den-like, and predictable. They fail badly for dogs who already shut down in kennels, cry continuously, or panic when confined, and those dogs often need a gated room or exercise pen instead. Introduce any crate gradually, with the door left open and treats going in, rather than closing it on a stressed dog. Never use a crate as punishment.
What if my rescue dog will not eat in the first few days?
Skipping meals for the first 24 to 48 hours is commonly reported and usually means the environment still feels unsafe. Offer the food in a quiet room, try hand feeding, and consider a warm or wet version of the same food. Beyond roughly 48 hours, or if the dog also refuses water, seems weak, or vomits, contact your veterinarian the same day. Appetite loss can signal illness or parasites, so track it in your notes rather than guessing.
How do I handle crying at night or distress when I leave the house?
Crying at night is very common in the first days. Keep a consistent bedtime, leave a dim light on if that helps, and go back in briefly and calmly a couple of times rather than ignoring it indefinitely. For alone time, start with two minutes outside the door, build up slowly, and return before the dog settles down. Dogs pushed to separation distress in week one can take much longer to recover, so shorten the steps instead of lengthening them.
When should I call the veterinarian during week one?
Call for any medical concern, including a limp, stiffness, coughing, discharge from the eyes or nose, vomiting, diarrhea, a swollen belly, or blood in the stool. Also call if the dog eats almost nothing for more than two days, cannot urinate, is unusually lethargic, or refuses water. Book a routine appointment within the first week anyway, especially if the rescue organization flagged a condition or if the dog is a puppy, a senior, or was pregnant recently.
How to Help a Rescue Dog Settle In the First Week
Start with one action: prepare a quiet, safe area and a fixed routine before the dog gets there. Everything else in week one follows from that. Boring days, hand-fed meals, short sessions, and a household that says no to visitors will do more for a rescue dog settling in than any amount of training.
Then watch the dog rather than the calendar. Appetite, sleep, and willingness to approach are the real signals of progress, and they move at their own pace. When something feels medical, when a fear response escalates, or when you are not sure whether a behavior is decompression or a problem, call your veterinarian or the rescue organization’s behaviorist line early. Asking for help in week one is normal adopter behavior, not failure.
Updated for October 2026.