Most of the work in siberian husky escape proofing your yard happens in one afternoon of measuring and one weekend of fixing. A husky gets out through three routes — over the top, under the bottom, or through an opening — and each one needs its own specific fix. Close all three and the same yard works for years.
That is the honest answer. There is no single fence that solves it on its own, and no amount of recall training substitutes for a boundary. What works is layered defence: a solid perimeter tall enough to discourage jumping, something buried at the base that defeats digging, gates the dog cannot operate, and a habit of walking the fence line once a week.
Most escapes are boring. A latch lifted with a nose, a corner where the fence meets the house and leaves a 40 cm gap, a bin that gives a launch pad. Find those and the problem usually shrinks to something manageable. Here is how I would approach it, step by step.
Table of Contents
- What You Need
- Step-by-Step
- Step 1: Inspect the Entire Boundary Before Escape Proofing Your Yard
- Step 2: Fix Gaps, Loose Panels, and Low Sections
- Step 3: Stop Digging and Climbing
- Step 4: Secure Every Gate and Escape Point
- Step 5: Test the Yard From the Dog’s Perspective
- Common Mistakes
- Frequently Asked Questions
- How tall should a fence be for a Siberian Husky?
- Can a Siberian Husky jump over a standard backyard fence?
- What is the best way to stop a Husky from digging under a fence?
- Should I leave my Husky outside in the yard while I am not home?
- How do I find out where my Husky is escaping from?
- What should I do immediately after my Siberian Husky escapes?
- Conclusion
What You Need
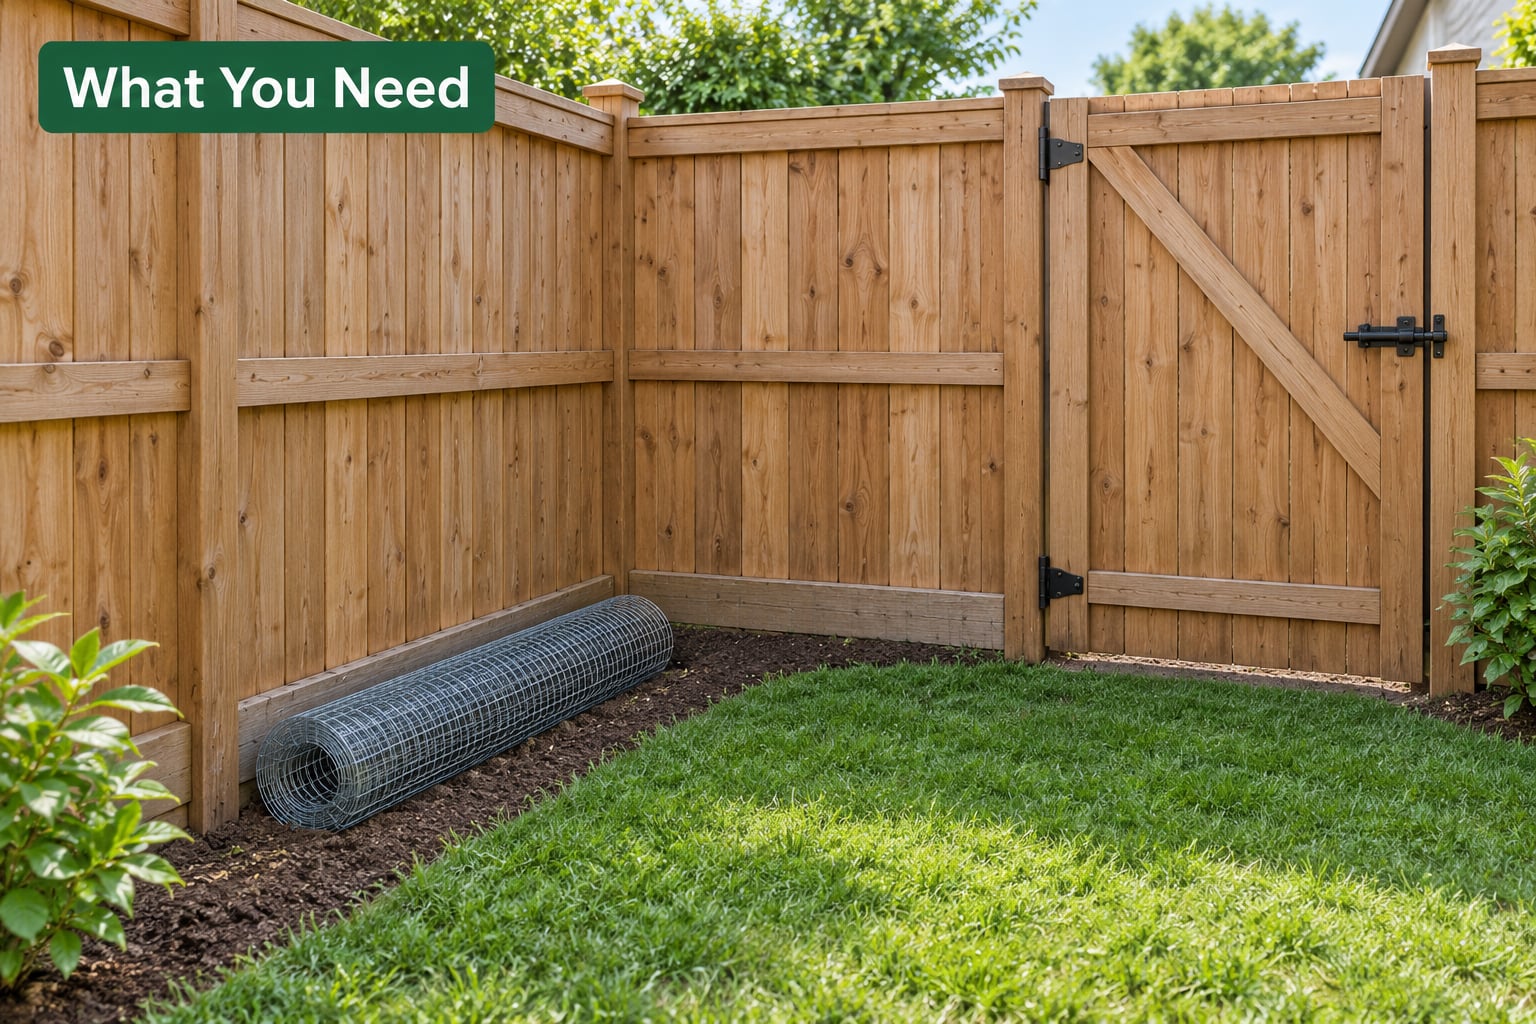
Gather the tools before you start measuring, because most yards need the same four jobs done and the jobs have different materials.
For the audit (before spending anything):
- A tape measure and a step ladder
- A phone camera, which documents every weak spot before you fix it
- A helper for gates and panels, since a loose gate section is a two-person job
- A marker or tape to flag problems at head height, base height and mid-panel
For height and structure:
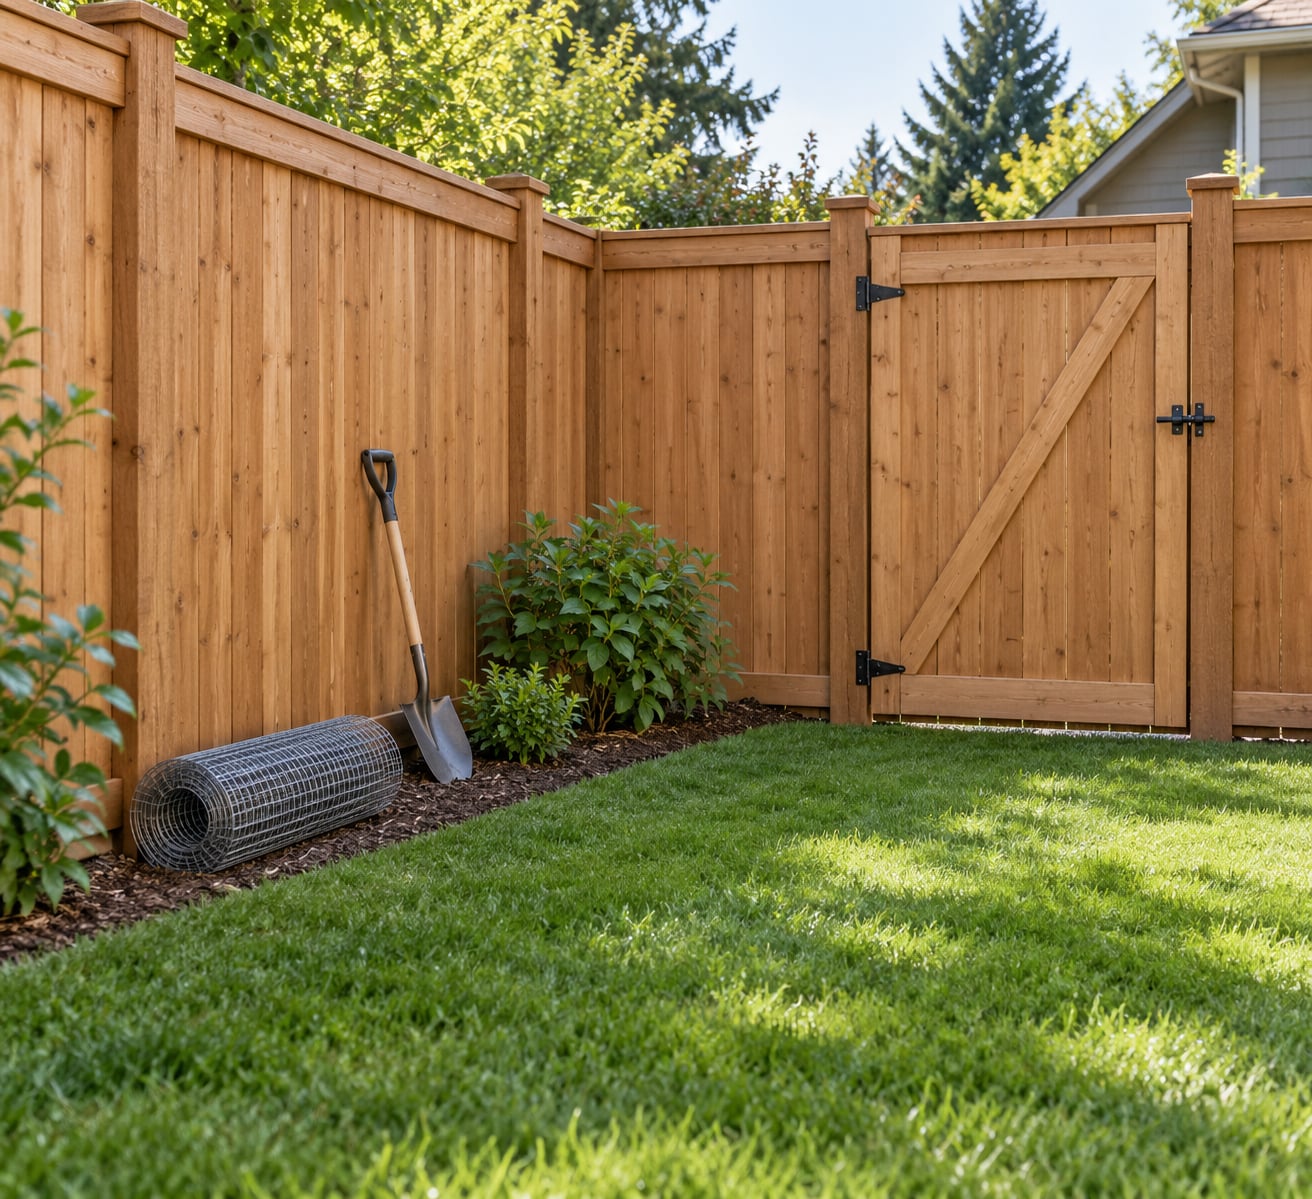
- 6 ft solid fence panels — wood privacy, composite, or black aluminum with no horizontal rail to grip
- Steel or treated 4×4 posts, plus post caps and concrete for any new upright
- Structural screws and exterior-grade fasteners, not the lightweight nails already in a tired fence
For the base (this is the part people skip):
- Hardware cloth or heavy welded wire, 16 gauge or thicker, 12-18 inches of drop width
- A trenching spade or narrow mattock for the L-shaped trench
- Pavers, a concrete curb, or large flat rocks for an above-ground apron where digging a trench is impossible
- Gravel for filling a finished trench, so the dog cannot easily paw the soil back out
For openings:
- Self-closing, self-latching gate hardware with a spring closer
- A second lock — a sliding bolt or a carabiner-style clip placed where the dog cannot reach it
- Hardware cloth offcuts for shed vents, crawl spaces and gaps under decks
For clearing the climb line:
- Bins, planters, pallets, ladders and patio furniture you plan to move away from the fence
- A pry bar for removing the mid-rail or support board that acts as a step
If you rent, or your ground is rocky enough that trenching is out, the above-ground fixes still work: an apron of pavers or gravel packed along the base is often enough to kill a dig habit, and tall temporary mesh panels with weighted feet handle short-term containment.
Step-by-Step
Work in this order. Every step below has a check that tells you it worked, so you are never guessing from the living room window.
Step 1: Inspect the Entire Boundary Before Escape Proofing Your Yard
Walk the full perimeter at your dog’s eye level, not yours. Husky eye level is roughly 50-60 cm off the ground, and that is where every escape starts.
At each section note four things: the height at the highest point, the height at the lowest point, gaps you can see light through, and how the fence meets whatever is next to it. Most corners, and every place a fence meets a house wall, a shed or a carport, is a transition point — and transition points are where perimeter plans fail.
Check gates separately. Open and close each one and ask whether the dog could operate the latch with a paw or a nose. Then look at the ground along the base for fresh spoil, loose mounds, or a path worn through the grass. A bare strip of dirt running along the fence is a dig route that already exists.
Finish by listing everything within about a metre of the fence: bins, planters, a pallet, a bench, a wheelbarrow. Those are the launch objects, and on the It’s a Husky Thing forum one owner described a pallet leaned against the fence turning straight into a ladder.
Check: you have a written list with photos, and nothing on it says “just watch him more”.
Step 2: Fix Gaps, Loose Panels, and Low Sections
Start with the structural failures, because no amount of mesh on a bowed panel will help.
Replace any board that is soft, cracked or hollow when you press it. A husky’s nose and claws will find a rotten board long before you notice it. Where panels flex, brace them with a horizontal support screwed to the posts — not nailed — and set that support on the yard side, so it cannot be used as a foothold. One owner on It’s a Husky Thing recommends exactly this: put the middle rail outside the fence, where there is nothing to push off from.
Close gaps wider than a few centimetres. Anything a paw can enter becomes a shoulder-width entry within about a week. Common offenders are the corner where fencing meets the house, the gap under a deck, a missing picket on a gate, and the 5-10 cm space under a fence where the ground slopes away from it.
For the gap under a sloped fence, the fix is a trench and a barrier rather than a longer panel — which is the next step. For the gap between fence and wall, a strip of hardware cloth screwed to the wall on the dog’s side closes it permanently.
Check: walk the perimeter at dog height with a flashlight and see no light through the fence anywhere except the gate opening.
Step 3: Stop Digging and Climbing
Digging is the most common husky escape route, and most of it happens under solid privacy fences where owners assume nothing can get out. The dog only needs to make a body-width tunnel, not leave the property.
The standard fix is a buried L-footer. Dig a trench roughly 30 cm deep along the fence line, cut it at an angle so the buried section leans away from the yard, staple 12-18 inches of hardware cloth or heavy welded wire to the bottom of the fence panel so it continues into the trench, then backfill and pack the last 15 cm or so with gravel. The outward angle matters: when the dog digs and hits wire that slopes away from it, the tunnel collapses back into the hole instead of widening into a passage.
Chicken wire bends and can be pulled by a determined dog, so hardware cloth or welded wire is the better material where you can get it. Where the ground is too rocky or the roots are too dense to trench, use an above-ground apron instead: pavers, flat stones, or a 30 cm strip of gravel-filled gabion set against the fence base, held with spikes or the panel’s own ground stakes. It costs more digging than it saves, and it stops a great many tunnels.
Now clear the climb line. Move every bin, planter, chair and piece of equipment at least a metre away from the fence, permanently. Remove the mid-rail if you cannot move it outward. If the dog still has a route over the top, extend the fence with an angled top arm carrying coyote rollers — horizontal bars that spin when touched, so the fence gives no grip.
One caution worth repeating: coyote rollers are not the final answer. On It’s a Husky Thing, an owner reported a husky clearing 5.5 ft, then jumping 6 ft once rollers went up. Every owner there who has stayed escape-free long-term says they still never leave the dog outside alone.
Check: after a week of normal yard use, no new soil appears along the fence base and nothing has been disturbed within a metre of it.
Step 4: Secure Every Gate and Escape Point
Gates are consistently named the weakest link in husky containment, because a gate is the one part of the perimeter a dog can operate with a paw.
Replace a basic gravity latch with self-closing, self-latching hardware, and check the close time. A gate that drifts open or bangs shut slowly is a gate that will be open on the wrong side of an argument you are not present for. Add a second lock placed out of reach — a sliding bolt on the inside face at dog-shoulder height, or a carabiner clipped to a fixed post. Test it with a gloved hand simulating a paw; if you can work it easily, so can the dog.
Then work through the openings people forget. Shed vents and gable vents get covered with hardware cloth screwed flat. Crawl spaces and under-deck voids get mesh or a low barrier. Storage sheds get a door that latches, plus a check that the door frame itself is not a gap. If the dog is ever let in and out through the house, treat the house as part of the perimeter: door dashes, a round doorknob a dog can turn, a sliding door left cracked a few inches, a ground-floor window with a weak latch.
Household members are part of this too. One of the most common causes of an escape is simply someone else opening the gate to let the dog out for a minute. Agree on a rule — the gate is opened by an adult who then closes it immediately — and put the second lock where the dog cannot reach it.
Check: every opening in the yard and every route into the yard has a latch the dog cannot operate, verified by hand.
Step 5: Test the Yard From the Dog’s Perspective
Once the fixes are in, run a supervised test. Put the dog in the yard with you, on a long line or harness, and stay with it for twenty minutes of normal play. Most dogs test the perimeter within the first few minutes: they run the fence line at speed, sniff along the base, and settle on the section with the least resistance.
Watch where the dog spends its attention. That section gets reinforced first. Do not leave the dog unsupervised for a test, even with the harness on, because a determined husky will carry a harness past a fence it could not clear without one.
After any change — a new panel, a moved planter, a repaired latch — walk the perimeter again from dog height. The last step is the one that keeps the yard safe: a ten-minute fence-line walk once a week, checking for new digging, lifted base stakes, a latch that no longer catches, and objects that drifted back against the fence. Owners on r/husky tend to recommend weekly over daily inspections, which matches how quickly a small dig habit becomes a tunnel.
Check: the dog has used the yard for a month with no new damage, and you have a weekly walk in the calendar rather than in your head.
Common Mistakes
Fixing only one route. Owners who put up a 6 ft fence and stop there are usually fixing climbing, and the dog moves to digging. If you close the top, watch the base the next week; if you bury a barrier, check the gate latch.
Chain link with no privacy screen. A husky can see through it and read it as a ladder — the diamond pattern gives paws and muzzle exactly the holds they need. A solid privacy screen or liner removes both the visual trigger and the climbing surface.
Leaving objects against the fence. Bins, planters, pallets and snow boards all become steps. The correction is dull and permanent: a one-metre clear zone, maintained.
Trusting the dog not to try. Most owners in these forums say some huskies could clear the fence and never did, while others had dogs that attempted an escape within fifteen minutes of arriving home. Plan for the second dog.
Relying on shock-based invisible fencing as the primary boundary. Owners repeatedly report thick-coated huskies pressing straight through static correction, and a buried wire line does nothing about a determined digger or a gate left open. Use containment electronics as a backup layer on a solid yard, never as the yard itself.
Skipping the audit. Most escapes are at a gate, a corner or a house-side gap that nobody photographed. Ten minutes of walking the boundary with a tape measure prevents the emergency.
Forgetting identification. Fences fail. A microchip with current registry details and a phone number on a tag collar is the last layer, and it costs almost nothing compared with losing a dog to traffic.
Frequently Asked Questions
How tall should a fence be for a Siberian Husky?
Six feet is the working minimum for most Siberian Huskies, and it should be solid rather than see-through. That height is enough to make climbing unattractive for the great majority of dogs. Owners of escape artists sometimes add a foot of angled top extension with rollers, but treat that as insurance rather than the baseline. Height only solves the over-the-top route, so the base and the gates still need attention.
Can a Siberian Husky jump over a standard backyard fence?
Frequently, yes. A standard 4 ft or 4.5 ft picket fence is well within the range of a motivated husky, especially with snowbanks, a bin or a bin-lid to push off from. Even a 6 ft fence is not an absolute barrier; one owner on It’s a Husky Thing reported a dog clearing 5.5 ft, then 6 ft after coyote rollers were added. Solid 6 ft fencing plus a clear launch zone is what has held for years.
What is the best way to stop a Husky from digging under a fence?
Bury 12-18 inches of hardware cloth or heavy welded wire in an L-shaped trench, attached to the bottom of the fence and angled away from the yard, then backfill and pack the top with gravel. The outward angle makes a tunnel collapse rather than widen. Where trenching is impossible, lay an above-ground apron of pavers, flat stone or compacted gravel against the base. Also give the dog a dig outlet, such as a sandbox, well away from the fence.
Should I leave my Husky outside in the yard while I am not home?
Not if you can avoid it, and that is the answer most experienced husky owners give even after installing solid 6 ft fencing. A yard is safe when someone is watching it. If you need to be out, use a crate, an indoor playpen or a dog run with a secure top, or have someone exercise the dog before you leave. An electronic collar or GPS tracker adds a backup layer, but owners report huskies often ignore static correction.
How do I find out where my Husky is escaping from?
Do the audit, not the guess. Walk the perimeter at dog height with a tape measure and a flashlight, looking for light through gaps, bowed panels, a latch a paw could work and any change in ground level along the base. Fresh spoil or a worn strip of grass points straight at a dig route. Take photos before you fix anything, then re-walk after each change to see whether the dog moved to a new section.
What should I do immediately after my Siberian Husky escapes?
Do not chase. Cornering a husky that is already frightened often ends with a bite and a lost dog. Post on local neighbourhood and lost-pet groups with a recent photo, your phone number and the direction and time, and call local shelters and animal control within the first hour. Leave a door, a favourite blanket or an open food bag outside, and check the route back home, since a loose dog often circles toward familiar scent. Make sure the microchip registry details are current before you need them.
Conclusion
Start this week with three things: walk the whole boundary at your dog’s eye level and write down every gap, latch and dig spot; fit a buried barrier or a paver apron along the base; and upgrade the gate latch with a second lock out of paw reach. Then move the bins and planters back a metre and put a weekly ten-minute fence walk in your calendar.
None of that replaces watching him. Escape proofing your yard is what keeps a bad afternoon from becoming a lost-dog panic, and the strongest setups are the ones owners still supervise.