A cocker spaniel ear care routine takes about five minutes a week: lift each ear flap, check for redness, odor or moisture, wipe the visible outer ear with a veterinarian-approved cleaner only when needed, then dry the flap and canal opening completely. Trouble usually begins when water and wax sit in a long, narrow ear canal with very little airflow.
That canal is L-shaped, so a cocker’s ear holds warmth and dampness far longer than an upright-eared dog’s ear does. Owners usually notice something wrong only when the dog starts shaking their head or scratching, and by that point the ear often needs veterinary care rather than another round of home cleaning.
Table of Contents
- What You Need
- Cocker Spaniel Ear Care Routine: Step-by-Step
- 1. Restrain Your Dog Without Panicking
- 2. Inspect the Ear and Check for Warning Signs
- 3. Clean Only the Outer Ear When Recommended
- 4. Dry the Ear Flap and Canal Opening Thoroughly
- 5. Check the Result and Keep a Simple Schedule
- Common Mistakes
- Frequently Asked Questions
- How often should I clean my Cocker Spaniel’s ears?
- What is the safest way to clean a Cocker Spaniel’s ears at home?
- Why does my Cocker Spaniel’s ear look brown or yellow inside?
- Do long-eared dogs need a cocker spaniel ear care routine every week?
- When should I stop cleaning and take my dog to the vet?
- Conclusion: Start With a Careful Weekly Check
What You Need
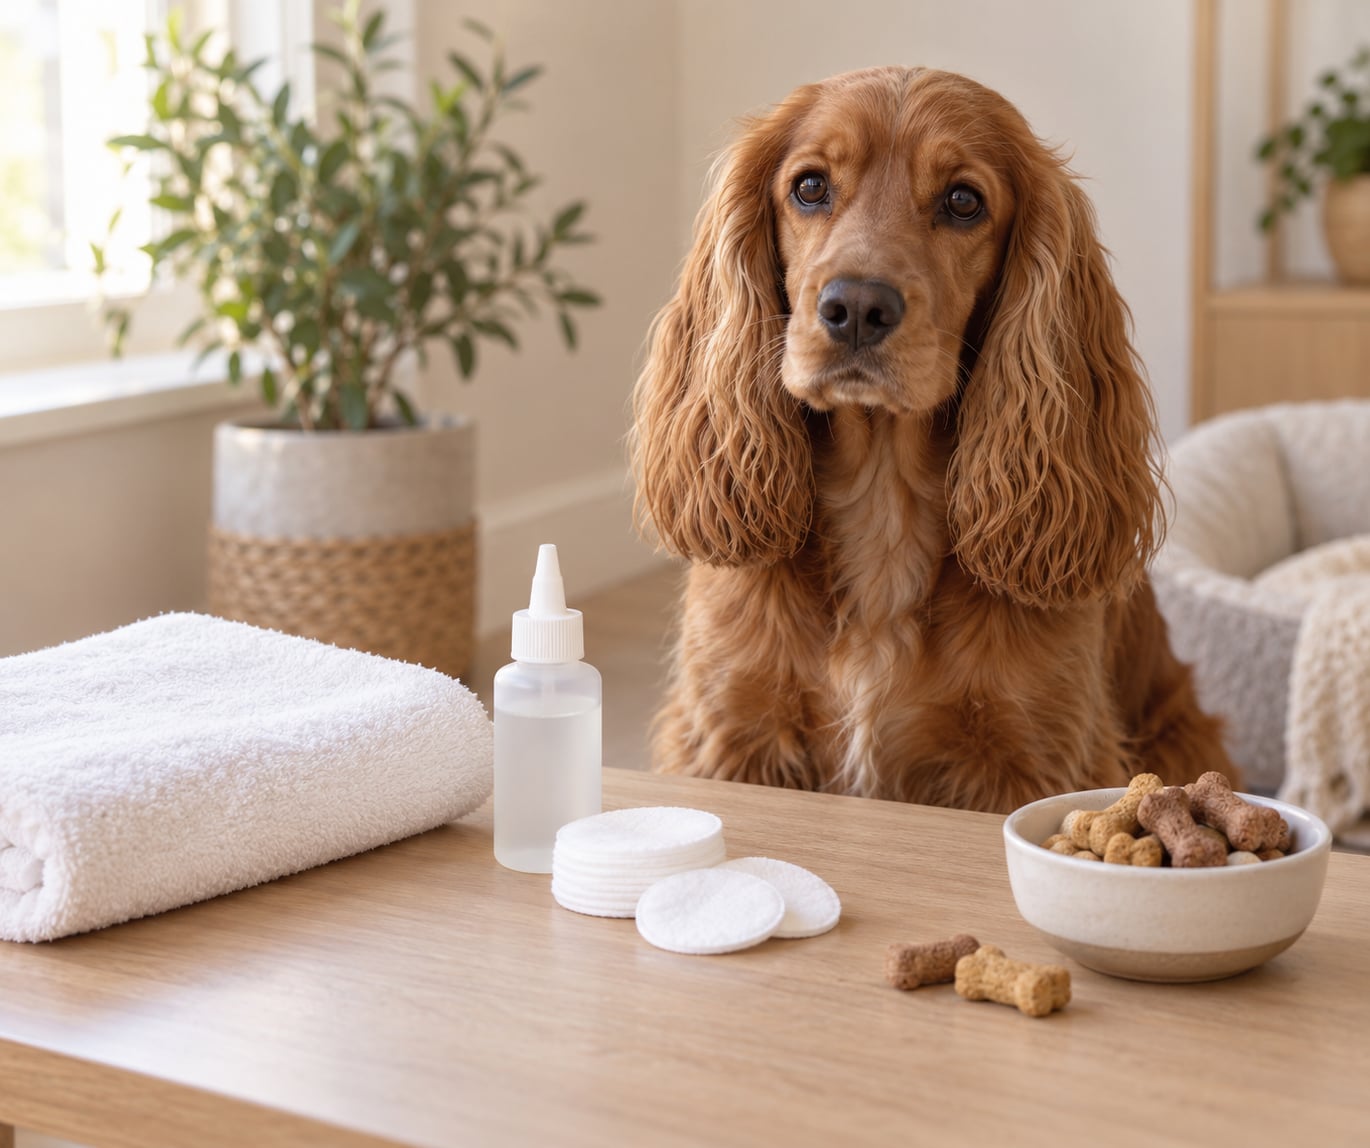
Gather everything before you lift a paw. Catching a clean, calm dog with a half-used bottle and no towel is how routines get abandoned.
- A dog ear cleaner your veterinarian has recommended, used exactly as the label says
- Soft cotton balls, cotton pads or folded gauze
- A clean, absorbent towel
- A few high-value treats
- A phone flashlight for checking deep ears
- Gloves if your dog has sensitive hands or you prefer them
Leave cotton swabs, tweezers, hairpin-like tools and scissors out of reach. None of them belong in an ear canal, and a dog that flicks its head mid-second is exactly how a swab ends up somewhere painful.
Skip human ear drops, no matter how well they worked on you. Alcohol-based formulas sting inflamed tissue, and some contain ingredients that irritate a dog’s ear lining. Same goes for hydrogen peroxide, essential oils and homemade vinegar mixtures unless your own vet has specifically told you otherwise for your dog.
Two quick checks before you start. Some cockers have had a surgically closed ear canal (a stapedectomy or a congenital narrowing), and a few have a healed pierced ear flap, so touch only what you have already handled before. If the dog currently has a sore ear, skip routine care entirely and book an appointment.
Cocker Spaniel Ear Care Routine: Step-by-Step
The routine below takes five to ten minutes on a calm dog. Work through the steps in order, and stop at the first sign that your dog is uncomfortable.
1. Restrain Your Dog Without Panicking
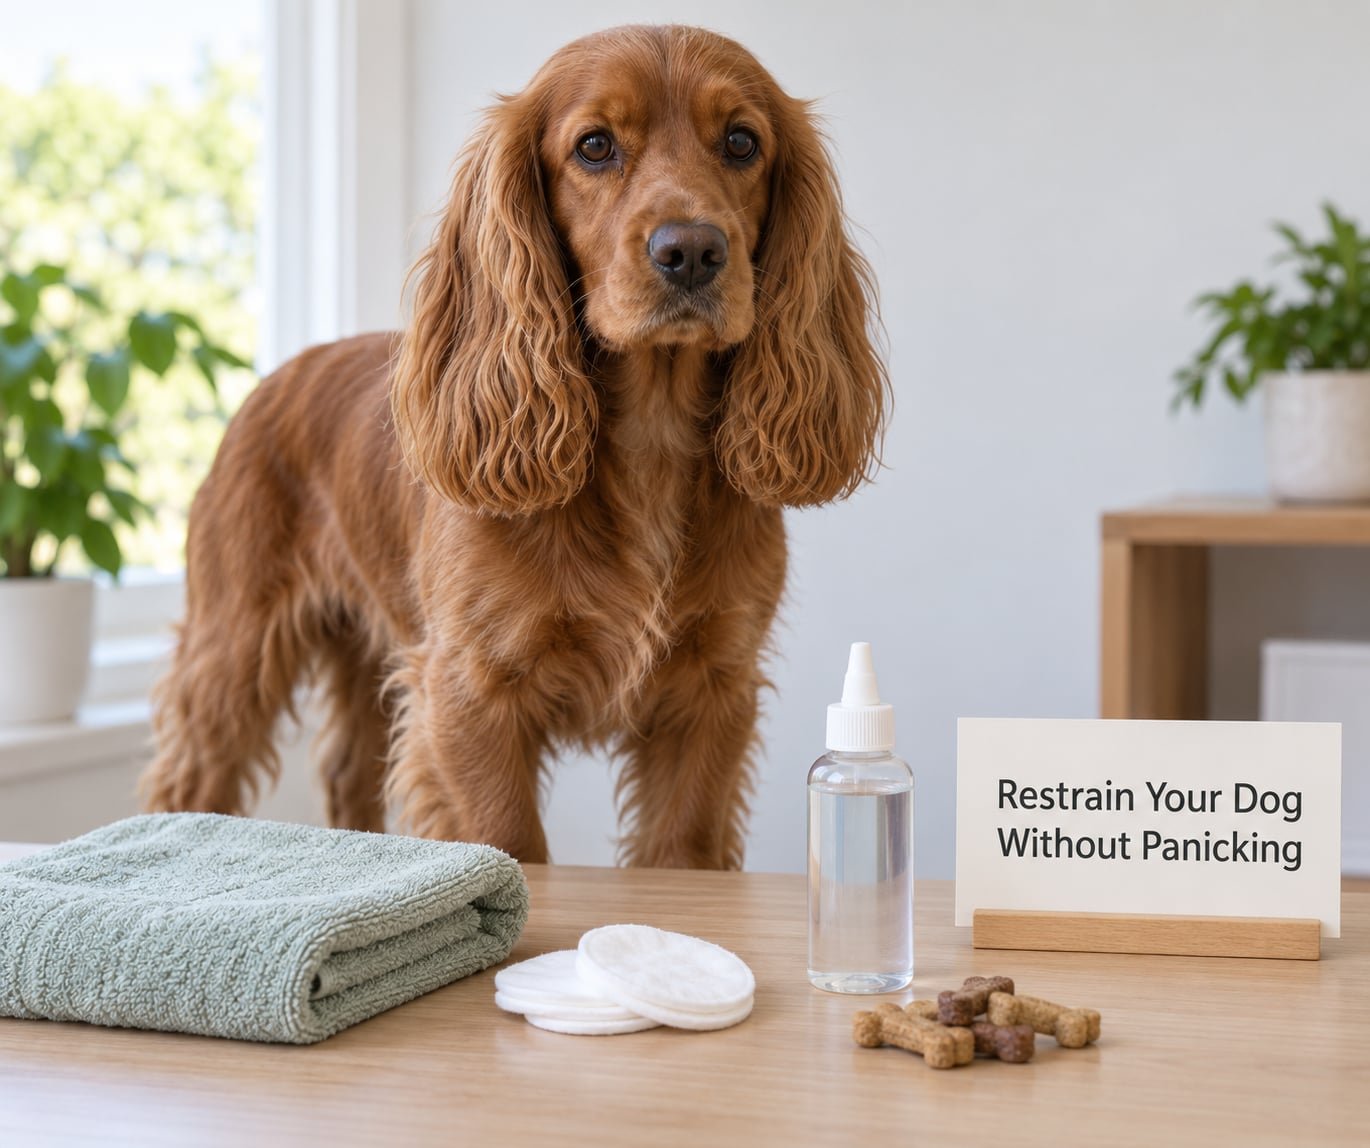
Stand or sit beside your dog rather than behind the head. Have them sit, hold a treat at chest height, and reward any calm behavior, including the moment they simply tolerate you touching near the ear.
For a dog who moves away, you can loop a loose lead around the chest behind the front legs and hold it gently, or sit them on a non-slip surface so they feel secure. Support the ear flap so its weight does not pull on the canal.
Two short sessions beat one long fight. If your cocker whines, twists away or plants their feet, stop, give a break and try again later. Forcing the job done quickly usually damages trust and makes the next attempt harder.
2. Inspect the Ear and Check for Warning Signs
Lift the ear flap and use the flashlight to look down the opening. Compare what you see with the other ear, since a difference between two ears is one of the most useful clues you can take to the vet.
Healthy ears look pale pink inside with a light tan or honey-colored wax that sits loosely and moves when the flap shakes. Some wax is normal and self-clearing, and a cocker producing a bit of it is not a cocker with a problem.
Warning signs look different: redness or swelling, wax packed against the skin, moisture, dark or colored discharge, a strong or sour smell, crusts, debris, pain when the flap is lifted, or a grass seed or tick you can see. Head shaking and scratching at the ear are symptoms too, not habits.
If you spot any of those, put the bottle down and call your veterinarian. A dog who suddenly holds one ear lower than the other, or who cries when the ear is touched, needs to be seen rather than cleaned.
3. Clean Only the Outer Ear When Recommended
When the ear looks healthy and you are simply maintaining it, use the cleaner your vet recommended, following the label amount. Squeeze it onto a cotton pad, or into the canal opening only if the product instructions say to.
Fold the flap back over the top and massage the base of the ear for around 20 seconds, working the solution down toward the opening. Let go, hold the flap up, and let your dog shake it out onto a towel. Then wipe the outside of the ear and the flap itself until the pad comes away clean.
The rule is simple: whatever is visible outside the canal opening gets cleaned. Anything deeper stays for the dog to shake out or for a vet to flush with proper equipment.
Do not pour cleaner into an ear that is painful, bleeding, swollen or full of discharge. That is a medical problem, and a cleaner can push material deeper or add irritation.
4. Dry the Ear Flap and Canal Opening Thoroughly
Drying is the step most people rush, and it is the one that matters most on this breed. A cocker’s long ear flap lies against the canal opening like a lid, so anything wet under it stays warm and damp all day.
Blot the inside of the flap and around the opening with a dry cotton pad or the corner of a towel. Rub gently; scrubbing the thin skin of the flap can make it sore. Hold the flap away from the head for a few minutes so air can move across the canal entrance.
A cool hair dryer on a low setting, held at arm’s length and kept moving, works well after a bath or a swim. Owners on breed forums also recommend lifting the ears back loosely for a few minutes so both sides get air.
If the ear is still damp the next day, or if dampness keeps coming with scratching and redness, stop cleaning and talk to your vet. Repeated moisture is a symptom, not a cleaning job.
5. Check the Result and Keep a Simple Schedule
A finished job looks like this: the outer ear and flap wipe away clean with a dry cotton pad, the skin is still pale pink, there is no smell, and your dog shakes their head once or twice and carries on.
Frequency depends on the individual dog, not a universal rule. Many cockers need a look once or twice a week and a proper clean every one to two weeks; dogs who swim, live in humid climates or have allergies often need more. Your vet can set the pace, and it is worth revisiting each 2026 as your dog ages.
Three habits protect the routine. Dry the ears after baths, swimming and long rainy walks, with a towel blot and a few minutes of airflow. Keep grooming sprays, powders and hair products away from the canal opening. And write down any ear you treat in the notes app on your phone, with the date, what it looked like and what you did.
A log of recurring odor, redness or discharge is far more useful to a vet than your memory. It also tells you whether the routine is working or quietly failing.
One thing to keep in mind: good home care reduces the odds of ear trouble, but it cannot prevent every infection, parasite or foreign body. A cocker who has had two or three ear infections in a year deserves a proper workup, not more cleaning.
Common Mistakes
Pushing cotton swabs into the canal. They pack wax and debris deeper and can injure the eardrum. Use a pad on the outside of the ear only.
Using hydrogen peroxide, alcohol, essential oils or human ear drops. These sting and dry inflamed tissue. Stick to a dog cleaner your vet has approved.
Cleaning on a rigid schedule. Some cockers need a weekly clean, others do fine with one every two weeks. Over-cleaning strips the natural barrier, so check before you wipe.
Leaving the ear flap damp. A wet flap under a warm canal is the perfect spot for yeast. Blot, air out, and dry properly after every bath or swim.
Ignoring mild signs. A little redness today is cheaper to treat than a painful, discharging ear next month. Book the appointment early when the ear and the dog both tell you something is off.
Frequently Asked Questions
How often should I clean my Cocker Spaniel’s ears?
Most Cocker Spaniels need both ears looked at once or twice a week, with a proper clean only when wax or moisture has built up. Dogs who swim, walk in tall grass or live in humid climates usually need checking more often. Ask your veterinarian to set the pace for your own dog, especially if ear infections keep coming back.
What is the safest way to clean a Cocker Spaniel’s ears at home?
Use a dog ear cleaner your vet approves, apply the label amount to a cotton pad or the canal opening as directed, then wipe the outer ear without pushing anything inward. Massage the base of the flap, let your dog shake, and blot dry. Leave the swab out of it: cotton swabs push debris deeper and can rupture the eardrum.
Why does my Cocker Spaniel’s ear look brown or yellow inside?
Pale pink skin with light tan wax is normal. Thick brown or very yellow material that smells sour, clings to the skin instead of moving with the flap, or comes with redness and scratching points to infection or overgrowth rather than ordinary wax. Take a photo of it and book a vet visit instead of cleaning harder at home.
Do long-eared dogs need a cocker spaniel ear care routine every week?
Weekly is a good baseline rather than a rule for everyone. A quick look each week stops wax and dampness building up, while a full clean may be needed every one to two weeks or only after a swim. Work out your own rhythm with your vet, and adjust it for puppies, seniors and dogs with allergies.
When should I stop cleaning and take my dog to the vet?
Stop as soon as you notice pain, head shaking, bleeding, swelling, a strong odor, discharge, or a dog who will not let you touch the ear. Those signs point to inflammation such as otitis externa, an ear mite problem or a foreign body, all of which need an examination and often prescription drops. Cleaning an already inflamed ear usually makes it worse.
Conclusion: Start With a Careful Weekly Check
Start this week by lifting both ears with your dog sitting beside you, and just looking. Clean the outer ear with a veterinarian-approved product only when there is wax or moisture to remove, then dry the flap and canal opening completely before you let go.
If you find redness, pain, odor, discharge, swelling or head shaking, stop and make the appointment. Home care keeps ears healthy; it does not treat an ear that is already inflamed.